

Meatloaf recipe Lipton onion soup—is there anything more comforting than this classic combination? If you’ve ever wondered how to elevate your meatloaf game, you’re in the right place. Adding Lipton onion soup mix to your meatloaf doesn’t just enhance the flavor; it transforms an ordinary dish into something extraordinary. Whether you’re a beginner or a seasoned cook, this easy-to-follow guide will walk you through creating a delicious meatloaf that’s sure to become a family favorite. Who knew such a simple tweak could make such a big difference? Let’s dive in!
Table of Contents
Step 1 – Gather Your Ingredients
Why Lipton Onion Soup Mix Works Wonders
You know what’s funny? I used to think meatloaf was boring until someone introduced me to Lipton onion soup mix. Game changer, folks! This little packet adds a burst of flavor that makes your meatloaf taste like it came straight from a gourmet kitchen. The dried onions in the mix give it that savory kick, while the herbs and spices tie everything together. It’s almost magical how such a simple ingredient can transform an ordinary dish into something extraordinary.
Other Essential Ingredients You’ll Need
Now, let’s talk about the rest of the gang—because even superheroes need sidekicks, right? Here’s what you’ll want to gather before you start:
- Ground beef: Aim for 80/20 lean-to-fat ratio. Any less fat, and your meatloaf might end up dry. Been there, done that—it ain’t pretty!
- Eggs (2): These act as glue, keeping your loaf intact. Pro tip: Crack ‘em into a separate bowl first in case you accidentally get shell bits. Trust me, nobody wants crunchy meatloaf!
- Breadcrumbs: They soak up juices and keep things nice and tender. For extra credit, soak them in milk for about 5 minutes before adding.
- Ketchup: Not just for serving! Mixing ketchup into the meat gives it a sweet-and-sour undertone that balances perfectly with the savory flavors.
Don’t forget these finishing touches:
- Salt and pepper (always!)
- Garlic powder (for depth)
- Worcestershire sauce (a splash goes a long way)
Oh, and if you’re feeling fancy, grab some fresh parsley for garnish. Totally optional, but it looks super pro.
One last thing—lay out all your ingredients before starting. Nothing kills momentum faster than realizing halfway through that you’re missing breadcrumbs or eggs. Ask me how I know…
Step 2 – Prepare the Meat Mixture
Alright, so you’ve got all your ingredients ready—now it’s time to get your hands dirty! Preparing the meat mixture is where the magic happens, and trust me, this step can make or break your meatloaf. Here’s how I learned the hard way.
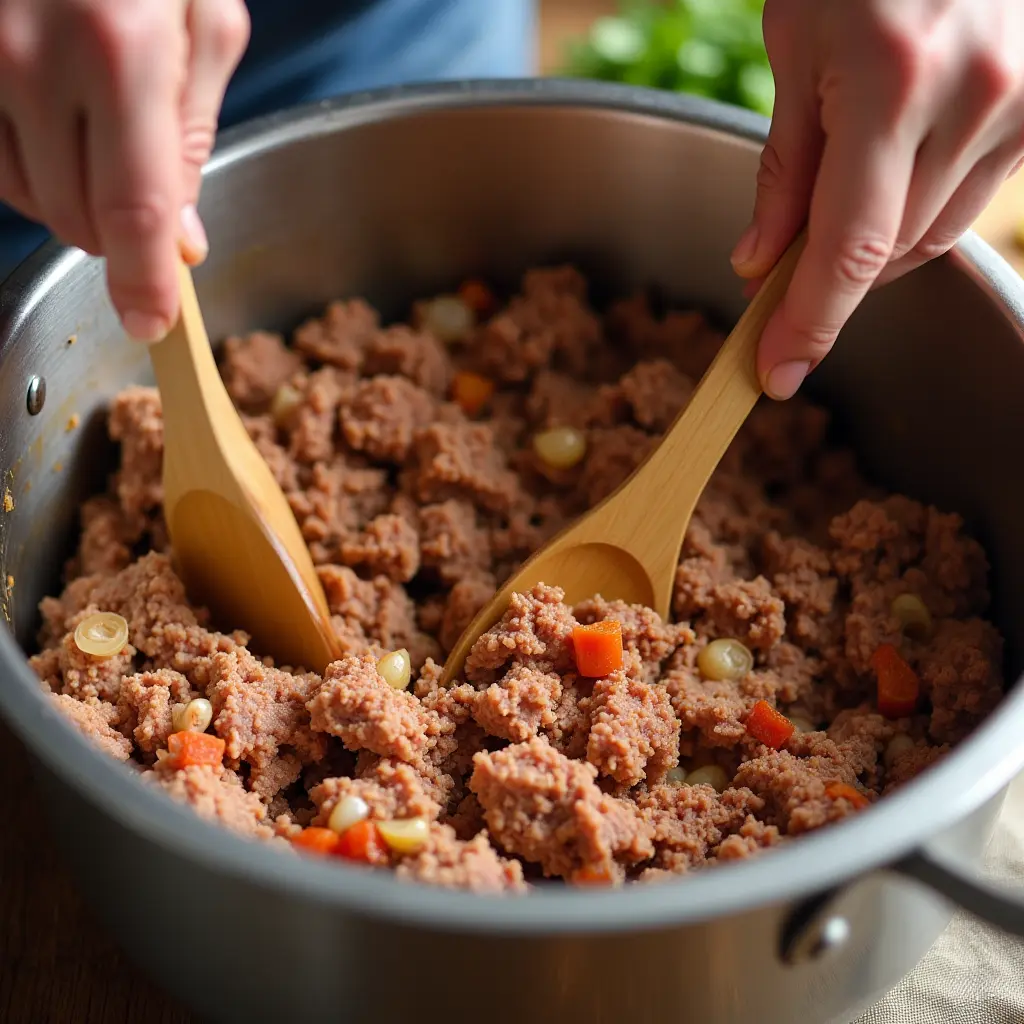
How to Combine Ground Beef and Seasonings Properly
The first mistake I made was being too rough with the meat. I thought mixing everything together like dough would do the trick, but oh boy, was I wrong! Overworking the meat leads to a tough, dense loaf that nobody wants to eat. Instead, gently combine the ingredients using your hands—or if you’re squeamish, a large wooden spoon works too. Just be light-handed, okay?
Here’s what I do:
- Place the ground beef in a big bowl (seriously, go BIG—you don’t want spills).
- Add the Lipton onion soup mix, breadcrumbs, eggs, ketchup, and spices.
- Use your clean hands to mix everything until just combined. Remember, less is more here!
Tips for Achieving the Right Consistency
Your goal is to achieve a texture that’s firm enough to hold its shape but not so packed that it becomes brick-like. If the mixture feels too dry, add a splash of milk or another egg white. Too wet? Toss in a bit more breadcrumbs. Balance is key!
One tip I picked up along the way is letting the mixture rest for about 10 minutes after mixing. This allows the breadcrumbs to absorb the liquids, giving you a smoother consistency when shaping the loaf later. Patience pays off, folks!
And hey, don’t stress if it doesn’t look perfect at this stage. Meatloaf has personality—it doesn’t have to be Instagram-perfect to taste amazing. Now, let’s move on to the fun part: shaping! But we’ll save that story for next time.
Step 3 – Shape the Meatloaf
Alright, you’ve got your perfectly seasoned meat mixture ready to go—now it’s time to shape that beauty into a loaf. Shaping might seem simple, but believe me, there are tricks to making sure your meatloaf holds together and bakes evenly. Let me share a few lessons I learned the hard way.
Techniques for Forming the Perfect Loaf Shape
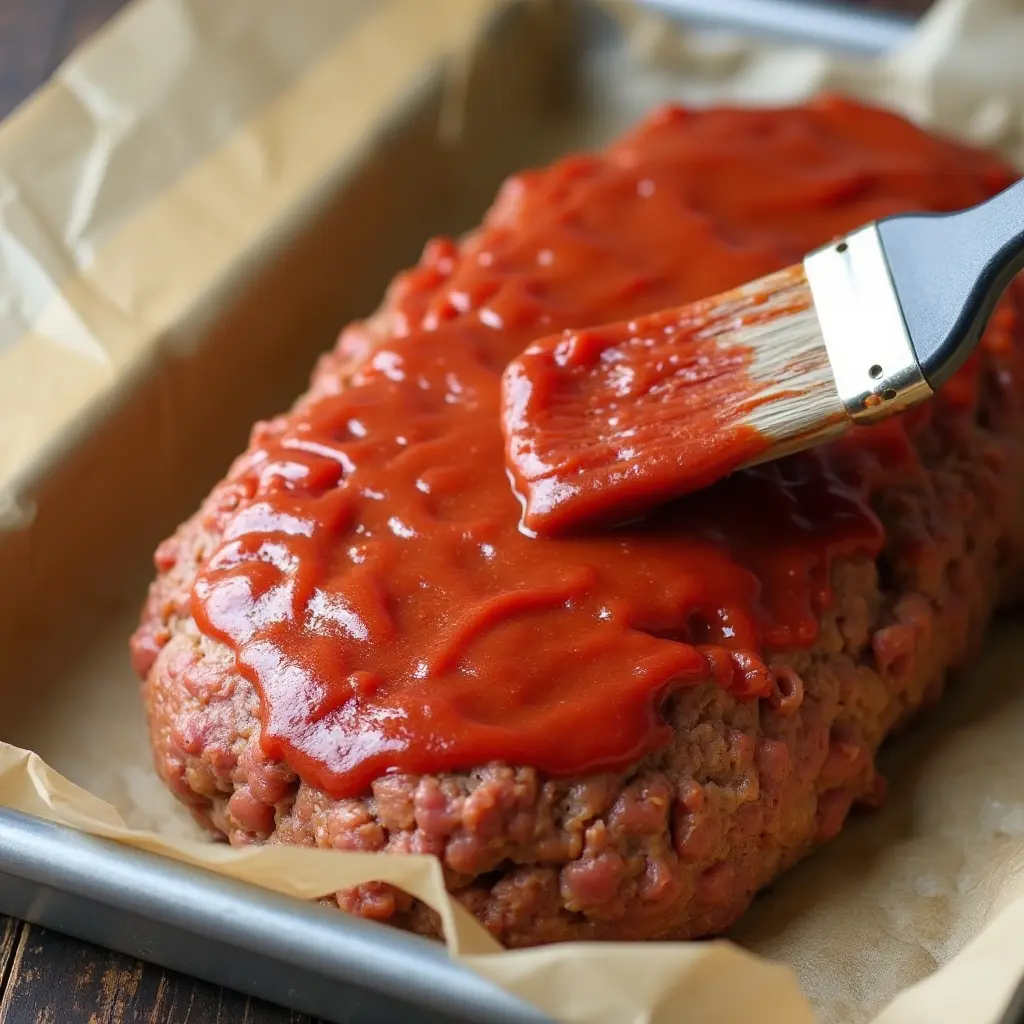
First things first: use parchment paper! This isn’t just about convenience; it helps prevent sticking and ensures your loaf slides right onto the baking sheet without falling apart. Lay out a large piece of parchment on your work surface, then scoop the meat mixture onto it. Now comes the fun part—shaping!
Here’s how I do it:
- Start with an oval or rectangle : Gently press the mixture into a loaf shape, leaving enough space around the edges for expansion during baking. A good rule of thumb is to aim for about 2 inches thick—it’ll cook evenly this way.
- Smooth those sides : Use lightly floured hands (or wet them slightly) to smooth out the top and sides. This prevents cracks from forming as the meat cooks. Bonus tip: if you want a crispy crust, brush the top with melted butter or olive oil before adding the ketchup glaze later.
Common Mistakes to Avoid When Shaping
One rookie error I made was shaping the loaf too tightly. Remember, ground beef needs room to breathe! If you pack it too firmly, the loaf will shrink unevenly and turn out dense. Another mistake? Not leaving enough space between the edges of the pan and the meatloaf. As it cooks, juices drip down—if they pool underneath, you risk soggy bottoms. Trust me, nobody wants a soggy meatloaf.
Lastly, don’t forget to create a slight indentation along the top. This helps the ketchup glaze stay put while baking, giving you that glossy finish everyone loves.
Shaping doesn’t have to be stressful—it’s all about finding what works best for you. And hey, imperfections make it unique! Once you’re happy with your loaf, we’ll pop it in the oven. But first, let’s talk about getting that golden-brown perfection…
Step 4 – Bake to Perfection
Alright, folks, we’re getting into the home stretch! You’ve shaped your meatloaf masterpiece—now it’s time to bake it to golden-brown perfection. This is where patience becomes your best friend because rushing this step can ruin all your hard work. Let me walk you through the process and share some tips I wish I’d known when I first started making meatloaf.
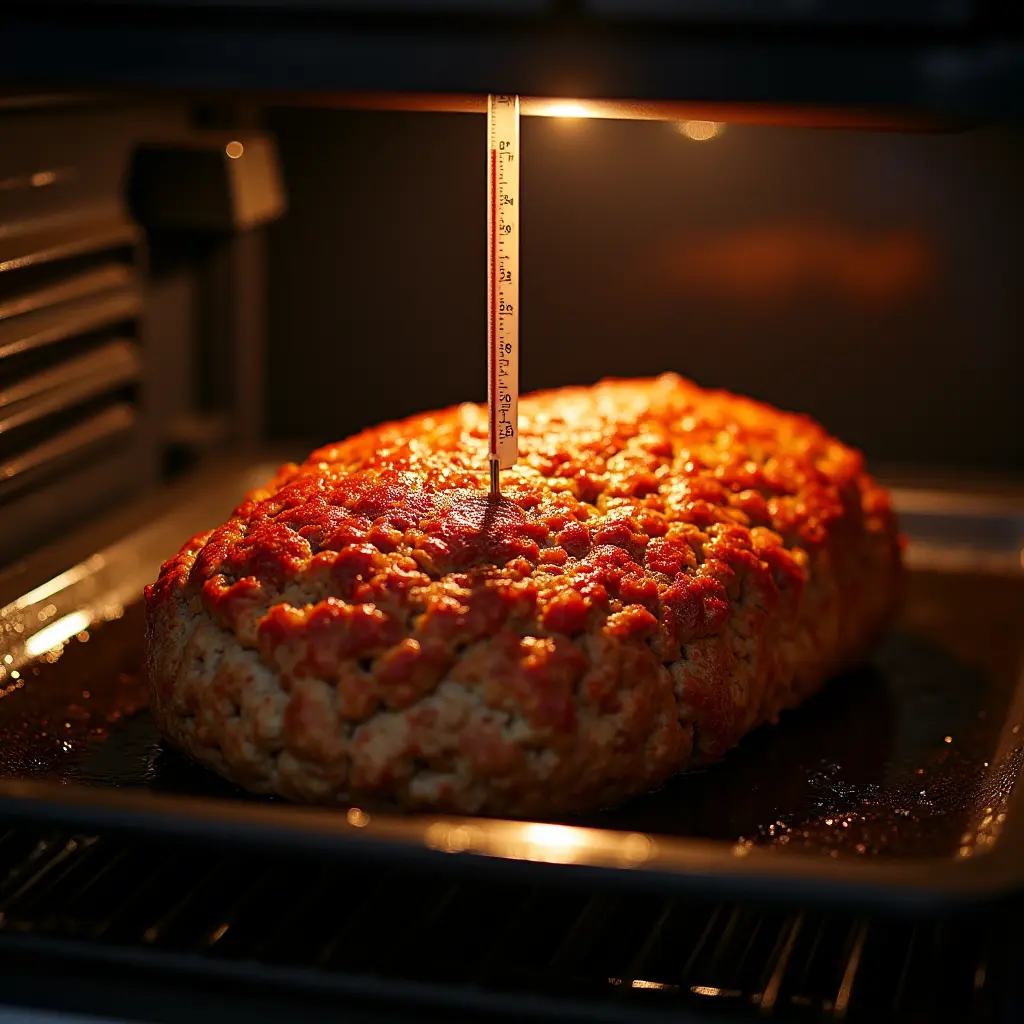
Ideal Oven Temperature and Baking Time
Preheat your oven to 350°F (175°C) . Why this temp? It’s low enough to cook the meat evenly without burning the outside while keeping the inside juicy. Depending on the size of your loaf, baking time will vary, but most recipes call for 60-75 minutes . Set a timer for 60 minutes initially, then check the internal temperature with a meat thermometer.
Here’s what you’re looking for:
- For beef, aim for an internal temp of 160°F (71°C) .
- If you’re using turkey or chicken, shoot for 165°F (74°C) .
Signs Your Meatloaf Is Ready
Don’t rely solely on cooking time—there are visual cues too! When done, the top should be beautifully browned, and the juices running out should be clear, not pink. If you notice the top browning too quickly, loosely cover it with aluminum foil to prevent burning.
One trick I swear by is letting the meatloaf rest after baking. Once it’s out of the oven, let it sit for 10-15 minutes before slicing. This allows the juices to redistribute, ensuring each bite stays moist and flavorful. Trust me, skipping this step means losing precious juices when you cut into it. Been there, done that—it ain’t pretty!
Oh, and if you’re worried about overcooking, here’s a pro tip: place the loaf on a rack set inside a baking sheet. This allows air to circulate underneath, preventing sogginess and promoting even cooking.
So, grab a glass of wine (or coffee, no judgment here), relax, and let the oven do its thing. While you wait, start thinking about those delicious sides to serve alongside your perfect meatloaf. We’ll get to that in the next step!
Step 5 – Serve and Enjoy Your Meatloaf Recipe Lipton Onion Soup
Alright, the moment of truth has arrived! Your meatloaf is out of the oven, perfectly golden-brown, and smelling absolutely incredible. Now it’s time to plate up and enjoy this comforting classic. But how do you take your meal from “just okay” to “wow-worthy”? Let me share a few ideas that have worked wonders for me.
Creative Ways to Serve Your Meatloaf
First things first: presentation matters! Slice your meatloaf into thick, even portions—about 1-inch slices work best. If you want an extra touch of elegance, garnish each slice with fresh parsley or a sprinkle of paprika. It might sound simple, but little details like these can make your dish feel restaurant-quality.
Here’s what I love to serve alongside my meatloaf:
- Mashed Potatoes : Creamy, buttery goodness that soaks up every last drop of gravy. Pro tip: whip in a dollop of sour cream for added richness.
- Green Beans : Steamed or roasted, they add a pop of color and freshness to balance the hearty flavors. Toss them with garlic and lemon zest for extra zing.
- Cornbread : Sweet cornbread pairs beautifully with savory meatloaf. Bonus points if you bake it in a cast-iron skillet for crispy edges.
Pairing Suggestions for Side Dishes
Can’t decide between sides? Here’s a fail-safe combo: mashed potatoes, roasted carrots, and a side salad dressed with balsamic vinaigrette. It’s comforting yet light enough not to overpower the star of the show—your meatloaf!
And let’s not forget the sauce! Drizzle leftover pan drippings over the top of your slices for maximum flavor. Or, if you’re feeling fancy, whisk those drippings into a homemade gravy for an elevated touch.
Finally, don’t be afraid to get creative! Swap traditional sides for something unexpected, like creamy mac and cheese or a warm spinach salad. The beauty of meatloaf is its versatility—it pairs well with almost anything.
Now, gather your family or friends, pour yourself a glass of your favorite drink, and savor the fruits of your labor. After all, cooking is about more than just food—it’s about creating memories. So dig in, relax, and enjoy every bite!
Conclusion
And there you have it—a scrumptious meatloaf made with Lipton onion soup mix in just five easy steps! This recipe works great for busy weeknights or special occasions. Don’t forget to experiment with different seasonings and sides to make it your own. Now, head to the kitchen and start creating this comforting masterpiece today!
FAQs
1. What type of meat works best for this recipe?
Ground beef is ideal, but you can also use turkey, pork, or a combination of meats for added flavor.
2. Is Lipton onion soup mix necessary for this recipe?
While it adds incredible flavor, you can substitute it with homemade onion soup seasoning if preferred.
3. How do I prevent my meatloaf from drying out?
Use enough fat content in the meat (80/20 ratio), don’t overcook it, and add moisture-rich ingredients like bread crumbs soaked in milk.
4. What side dishes pair well with meatloaf?
Classic sides include mashed potatoes, roasted vegetables, macaroni and cheese, or a fresh salad.