Crisco pie crust recipe lovers, gather ’round! Who doesn’t love homemade pies? But let’s face it—making the perfect pie crust can be intimidating. That’s where Crisco comes in! This versatile shortening creates an unbelievably flaky and tender crust every time. With just 10 simple steps, you’ll have a show-stopping Crisco pie crust ready to impress family and friends. Whether you’re baking a classic apple pie or experimenting with something new, mastering this recipe is a game-changer. Let’s dive in!
Table of Contents
Why Use Crisco for Your Pie Crust?
The Science Behind Crisco’s Flakiness
Let’s talk science for a sec, but don’t worry—I’ll keep it simple! Crisco is made from hydrogenated vegetable oil, which means it melts at a higher temperature than butter. What does that mean for your pie crust? It creates those dreamy, flaky layers without turning soggy in the oven.
Here’s why this matters:
- Higher melting point : Keeps the fat intact longer, forming air pockets.
- High fat content : Adds structure without weighing the dough down.
- Easier handling : Stays solid at room temp, unlike butter.
I remember my first attempt with Crisco—it was like magic! My butter crusts were always hit or miss, but Crisco gave me consistent results every time. If you’re tired of greasy or tough crusts, give Crisco a try. You won’t regret it!
Healthier Option Compared to Butter?
Now, let’s chat about health. Is Crisco really better for you than butter? Here’s the deal:
- Zero trans fats : Modern Crisco doesn’t contain any harmful trans fats.
- Longer shelf life : Unlike butter, it won’t go bad after a week.
- Nutritional edge : Lower in saturated fats compared to butter.
Sure, butter has its charm, but Crisco offers reliability and convenience. Plus, it behaves the same way every single time. No more guessing games or stressing over whether your butter is too soft or too cold.
So, next time you’re debating between butter and Crisco, think about what matters most: flavor, texture, or ease. For me, Crisco wins hands down when it comes to making a foolproof pie crust. Give it a shot—you might just become a convert!
Gathering Ingredients for Your Crisco Pie Crust
Essential Ingredients List
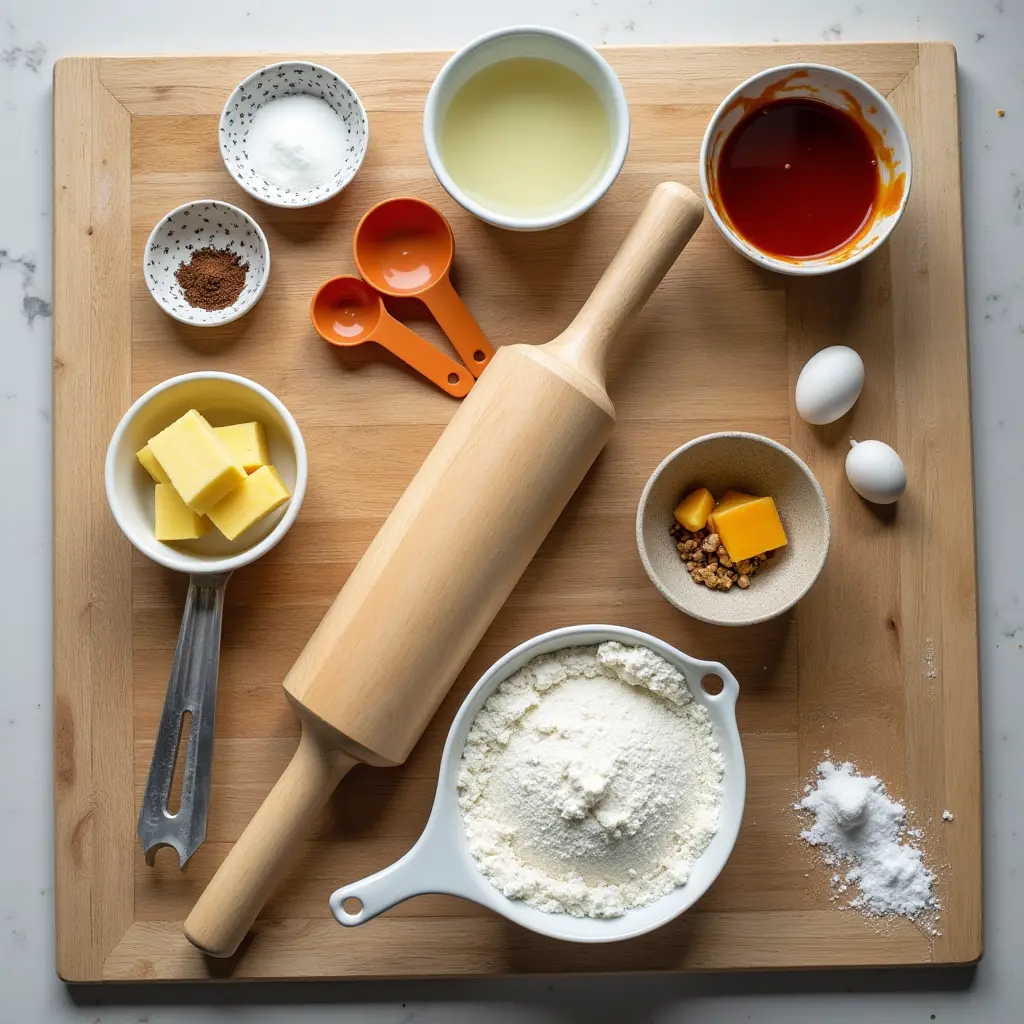
Alright, folks, let’s talk about the basics—you can’t bake a great pie without the right ingredients. For a Crisco pie crust, we’re keeping things simple and straightforward. Here’s what you’ll need:

- All-purpose flour: The backbone of your crust. Don’t skimp on quality here; it makes a difference!
- Salt: Just a pinch to enhance flavor. No one wants a bland crust, right?
- Cold Crisco: This is key. I learned the hard way—warm Crisco equals disaster. Trust me, keep it cold!
- Ice water: Yep, ice-cold water. It helps bind everything together without melting the Crisco.
- Vinegar (optional): A splash of white vinegar can make your crust extra tender. Totally up to you, though.
When I first started making pie crusts, I thought I could wing it with whatever was in my pantry. Big mistake! Using old flour or lukewarm water led to some pretty sad results. Lesson learned: stick to fresh, high-quality ingredients.
Tools You’ll Need
Now that we’ve got our ingredients sorted, let’s talk tools. You don’t need anything fancy, but having the right gear will save you time and frustration.
- Measuring cups/spoons: Precision matters, especially when working with small amounts of salt or vinegar.
- Pastry cutter: This little gadget is a lifesaver for cutting Crisco into the flour. You can use a fork, but it takes forever.
- Rolling pin: Look for one that feels comfortable in your hands. A flimsy rolling pin won’t do the job properly.
- Large mixing bowl: Give yourself plenty of space to work. Trying to mix dough in a tiny bowl is like trying to fit a square peg in a round hole—it just doesn’t work.
Pro tip: If you don’t have all these tools, don’t stress. Improvisation is part of cooking, but investing in a good pastry cutter and rolling pin will take your pies to the next level.
With your ingredients and tools ready, you’re set to tackle the rest of the recipe. Next stop? Making that perfect Crisco pie crust!
Step-by-Step Guide to Making Crisco Pie Crust
Step 1 – Measure and Mix Dry Ingredients
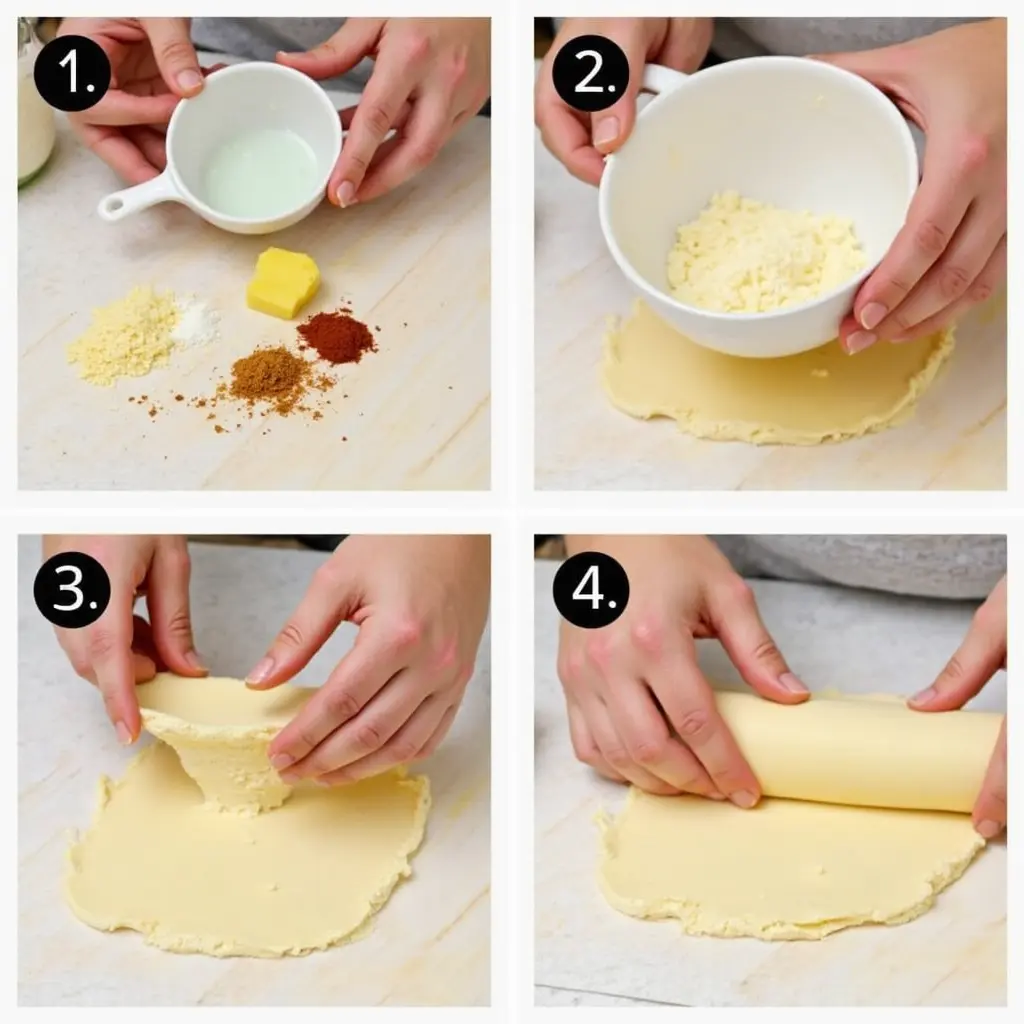
Let’s start with the basics. Combine your flour and salt in a big ol’ mixing bowl. Simple, right? But here’s the thing—accuracy matters.

- Use a spoon to fluff up the flour before measuring.
- A level cup of flour is key to avoiding dryness.
Trust me, I’ve messed this up before by packing too much flour into the cup. Dry crusts are no fun!
Step 2 – Cut in the Crisco
Now comes the fun part. Grab your pastry cutter (or two butter knives if you’re DIY-ing it) and cut that cold Crisco into the flour mixture. Keep mixing until the dough looks like coarse crumbs.
Here’s my secret:
- Take your sweet time. Rushing leaves big chunks of Crisco, which can ruin the texture.
- If you don’t have a pastry cutter, no worries—it just takes a bit more elbow grease.
Step 3 – Add Ice Water Gradually
This step can make or break your crust. For your Crisco pie crust recipe , gradually incorporate ice-cold water into the mixture, adding one tablespoon at a time. Gently mix with a fork until the dough starts sticking together.
Mistake alert:
- Adding too much water makes the dough tough. Been there, done that. Patience pays off here!
Steps 4–10 – Roll Out and Chill
Once your dough holds together, flatten it into a disk, wrap it tightly, and stick it in the fridge for at least 30 minutes. Why? Relaxing the gluten means easier rolling later.
Next steps:
- Gently roll out the dough on a surface lightly dusted with flour. Aim for about 1/8 inch thickness.
- Carefully transfer it to your pie dish. Trim those edges neatly.
- Chill again before filling. This prevents shrinking during baking.
And voilà! Your Crisco pie crust is ready for its star moment. Whether you’re making apple, cherry, or pumpkin pie, this crust will knock their socks off.
Tips for Achieving the Perfect Crisco Pie Crust
Alright, bakers, let’s talk about the golden rules of making a Crisco pie crust that’ll make your friends and family go wow . These tips might sound simple, but trust me, they’re game-changers. Let’s dive in!

Keep Everything Cold
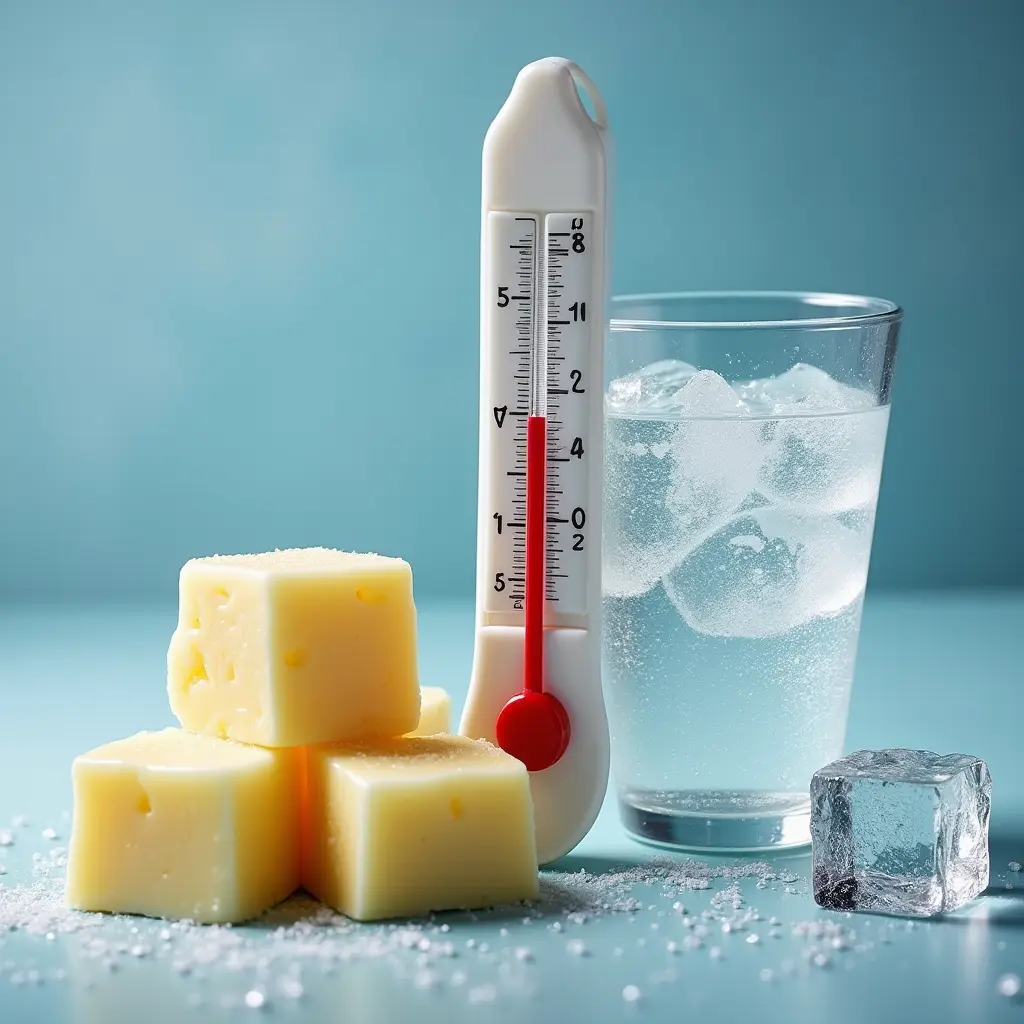
Cold ingredients are the secret weapon to flaky perfection. Why? Because when the Crisco melts in the oven, it creates steam, which forms those beautiful layers we all crave. If your Crisco or water is warm, it’ll just blend into the dough instead of creating pockets of air. Not ideal.
Here’s how to keep things chilly:
- Use ice-cold water : Literally freeze some water and use it straight from the fridge. I even throw in a few ice cubes while measuring!
- Keep Crisco solid : Straight out of the fridge or freezer works best. If it softens, pop it back in until firm.
Mistake alert: I once tried to “save time” by using room-temp Crisco. Result? A greasy mess. Learn from my mistakes, folks!
Don’t Overwork the Dough
This one’s crucial. The more you handle the dough, the tougher it gets. Gluten—the protein in flour—loves being worked, but too much love makes it strong and chewy. And who wants a chewy pie crust?
Key takeaways:
- To ensure success with your Crisco pie crust recipe , try handling the dough as little as possible after mixing.
- Avoid kneading it like bread dough. Gently press it together if needed.
Pro tip: If the dough feels sticky, chill it again before rolling. Patience pays off big time here.
Pre-Chill Before Baking
Ever had a pie shrink in the oven? Yeah, me too. That’s because the dough wasn’t relaxed enough. Chilling the assembled pie before baking gives the gluten a chance to unwind, so it holds its shape beautifully.
What to do:
- Place the filled pie in the fridge for 30 minutes before baking.
- While it chills, preheat your oven. Double win!
Bonus benefit: The cold Crisco will melt slowly in the oven, giving you even better flakiness. Win-win-win.
Follow these tips, and you’ll be well on your way to crafting a Crisco pie crust that rivals anything store-bought. Happy baking!
Common Mistakes to Avoid When Using Crisco
Alright, bakers, let’s talk about the pitfalls that can turn your dream Crisco pie crust into a disaster. Don’t worry—I’ve been there too! Here are two common mistakes to steer clear of when using Crisco for your pie crust.

Using Warm Hands or Tools
One of the biggest rookie errors is letting warmth creep into your Crisco preparation. Whether it’s your hands, tools, or even the kitchen itself, heat is the enemy of flaky perfection. Why? Because Crisco needs to stay solid until it hits the oven. If it melts prematurely, you’ll end up with a dense, greasy crust instead of those beautiful layers we all crave.
Here’s how to avoid this:
- Keep everything cold : Use ice-cold water, chilled Crisco, and if possible, work in a cooler part of your kitchen.
- Use cool tools : Metal pastry cutters are great because they retain cold better than plastic ones.
- Wash your hands with cold water : Sounds silly, but trust me—it helps keep the Crisco from melting under your touch.
Personal story: I once tried to speed things up by kneading the dough with warm hands. Big mistake. The Crisco melted instantly, and my crust turned out flat and greasy. Lesson learned!
Skipping the Resting Period
Another big no-no is skipping the resting period. I get it—patience isn’t always easy, especially when you’re excited to bake. But here’s the thing: resting the dough is crucial. It allows the gluten to relax, making the dough easier to roll out without shrinking back or tearing.
Why it matters:
- Easier rolling : Relaxed dough behaves much better under your rolling pin.
- Better structure : A rested dough holds its shape during baking, preventing shrinkage.
What to do:
- After mixing, wrap the dough tightly in plastic wrap and chill it for at least 30 minutes.
- If you’re short on time, pop it in the freezer for 15–20 minutes. It’s not perfect, but it gets the job done in a pinch.
Mistake alert: I skipped the rest once because I was in a rush. Guess what happened? My dough shrank like crazy in the oven, and the edges were uneven. Not pretty.
By avoiding these common mistakes, you’ll set yourself up for success every time you make a Crisco pie crust. Happy baking, and remember—cold ingredients and patience are your best friends!
Conclusion
Making a Crisco pie crust has never been easier! By following these 10 simple steps, you’ll achieve a beautifully flaky crust that elevates any pie. Remember to keep your ingredients cold, handle the dough gently, and give it plenty of rest. Now go ahead and bake your masterpiece—your taste buds will thank you! Share your creations with us and tag #CriscoPieCrust for a chance to be featured.
FAQs
1. Can I substitute Crisco with butter in my pie crust recipe?
Yes, but the texture may differ. Crisco produces a flakier crust due to its higher fat content, while butter adds richness. Choose based on preference.
2. How long does the Crisco pie crust dough need to chill?
Ideally, chill the dough for at least 30 minutes to relax the gluten and firm up the fat, ensuring a better texture.
3. Is Crisco healthier than butter for pie crusts?
Crisco contains no trans fats and has fewer calories than butter, making it a slightly healthier option for baking.
4. Can I freeze leftover Crisco pie crust dough?
Absolutely! Wrap it securely in plastic wrap and keep it in the freezer for up to three months.
5. What types of pies work best with a Crisco crust?
Fruit pies like apple, cherry, and peach are ideal, as well as savory quiches and pot pies.

