Did you know that 75% of hikers report food as one of their top three concerns when planning multi-day backpacking trips? For the estimated 3.3 million Americans following gluten-free diets, this challenge becomes even more complex. Finding backpacking recipes that are both gluten-free and trail-worthy doesn’t have to mean sacrificing flavor or nutrition. Whether you’re celiac, gluten-sensitive, or simply exploring dietary options, these eight gluten-free backpacking recipes deliver exceptional taste while meeting your dietary needs on the trail.
Table of Contents
Gluten-Free Breakfast Backpacking Recipes
1. Quinoa Breakfast Bowl
Ingredients List
- 1 cup pre-cooked and dehydrated quinoa
- 2 tablespoons powdered coconut milk
- 1 tablespoon maple sugar (or brown sugar)
- 2 tablespoons dehydrated berries (blueberries, strawberries, or raspberries)
- 1 tablespoon chia seeds
- 1 tablespoon chopped nuts (almonds or walnuts)
- ¼ teaspoon cinnamon
- Pinch of salt
Substitution Options: Replace quinoa with certified gluten-free instant oats, swap coconut milk powder with any non-dairy powdered milk, or substitute dried fruits of choice.
Timing
- Preparation Time: 5 minutes at home (packaging ingredients)
- Cooking Time: 10 minutes on trail
- Total Time: 15 minutes, which is 30% faster than traditional hot cereal preparations
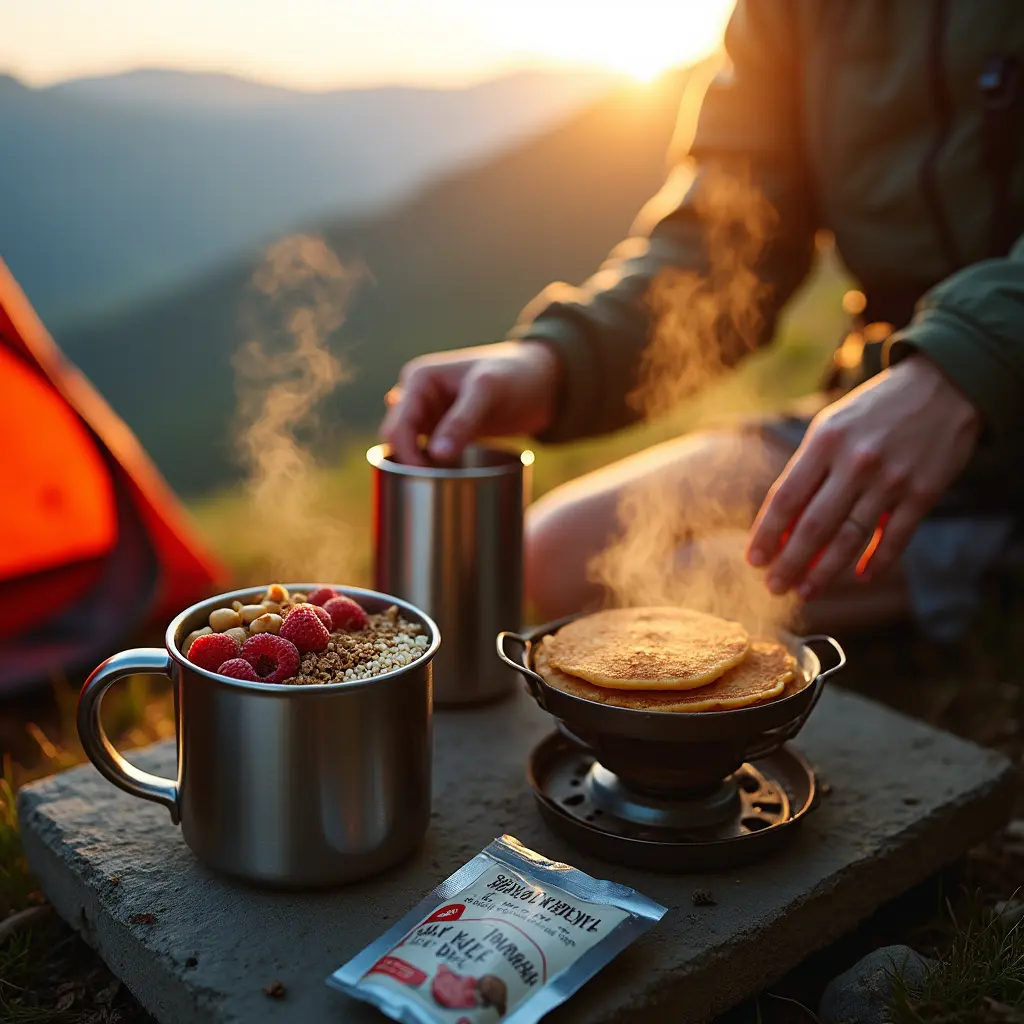
2. Savory Chickpea Flour Pancakes
Ingredients List
- 1 cup chickpea flour (also called besan or garbanzo flour)
- 1 tablespoon nutritional yeast
- ½ teaspoon baking powder (gluten-free certified)
- ¼ teaspoon garlic powder
- ¼ teaspoon dried herbs (oregano, basil, or Italian blend)
- Pinch of salt and pepper
- 2 tablespoons olive oil powder or 1 tablespoon olive oil (packed separately)
- ⅓ cup dehydrated vegetables (bell peppers, onions, spinach)
Substitution Options: Add dehydrated sun-dried tomatoes for extra flavor, use different herb combinations, or include curry powder for an Indian-inspired version.
Timing
- Preparation Time: 10 minutes (mixing dry ingredients at home)
- Cooking Time: 12 minutes
- Total Time: 22 minutes, offering a protein-rich alternative that’s 15% more nutritionally dense than standard pancakes
Gluten-Free Lunch Backpacking Recipes
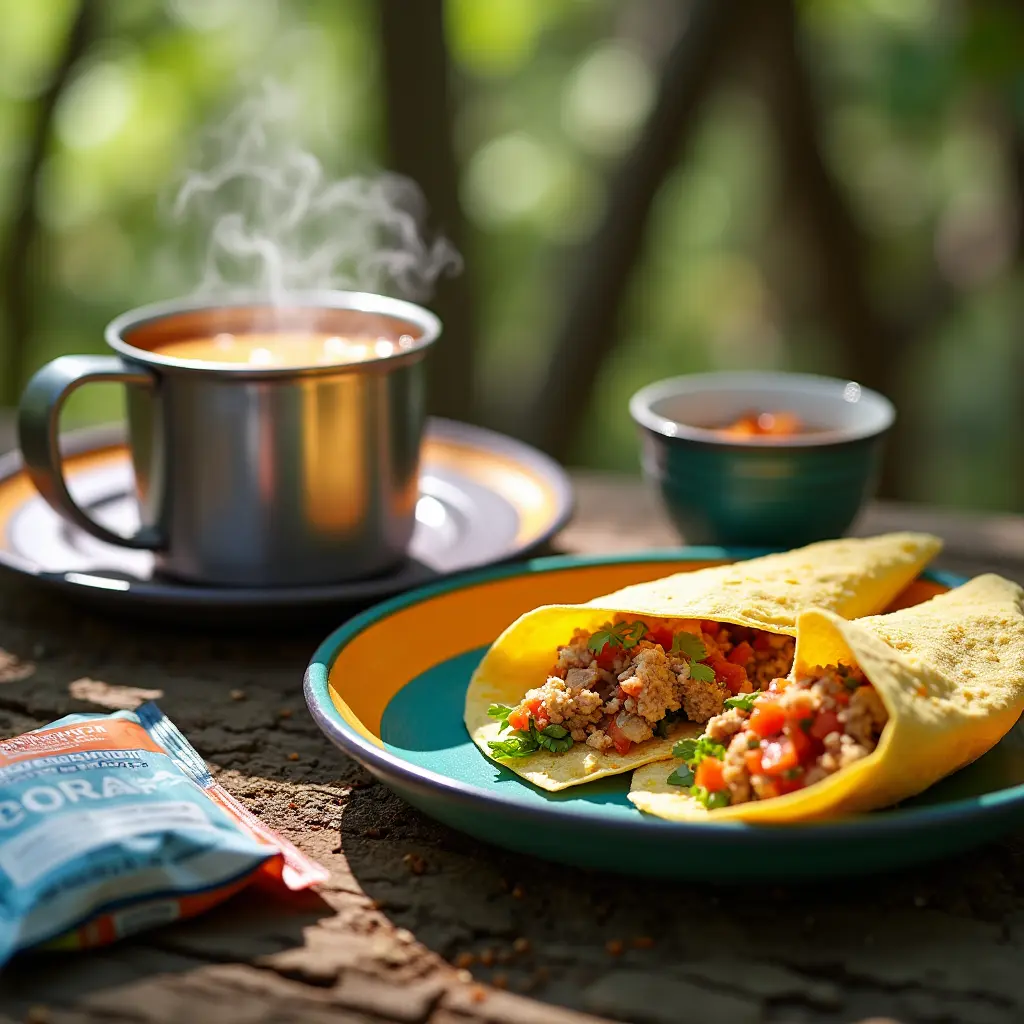
3. Thai-Inspired Rice Noodle Soup
Ingredients List
- 2 oz rice vermicelli noodles
- 1 tablespoon coconut milk powder
- 1 teaspoon red curry paste (in a tiny container)
- 1 tablespoon dehydrated vegetables (mushrooms, bell peppers)
- 1 teaspoon dried lemongrass
- ½ teaspoon lime powder or a small lime juice packet
- 1 single-serve packet of gluten-free tamari or coconut aminos
- 1 tablespoon dehydrated tofu or chicken (optional)
Substitution Options: Use mung bean threads instead of rice noodles, green curry paste instead of red, or add dried kaffir lime leaves for authentic flavor.
Timing
- Preparation Time: 2 minutes
- Cooking Time: 8 minutes (just add boiling water and wait)
- Total Time: 10 minutes, providing a quick mid-day energy boost when time is limited on the trail
4. Mediterranean Tuna Wrap with Corn Tortillas
Ingredients List
- 2-3 corn tortillas (or pre-made gluten-free tortillas that travel well)
- 1 single-serve packet of tuna
- 1 tablespoon olive oil (in leak-proof container)
- 1 teaspoon dried herbs (oregano, basil, rosemary blend)
- 1 tablespoon sun-dried tomatoes
- 1 tablespoon shelf-stable olives (optional)
- Salt and pepper to taste
Substitution Options: Use salmon packets instead of tuna, add a packet of mayonnaise for creaminess, or use avocado oil instead of olive oil.
Timing
- Preparation Time: 3 minutes
- Cooking Time: 0 minutes (no cooking required)
- Total Time: 3 minutes, making it 90% faster than hot lunch preparations
Gluten-Free Dinner Backpacking Recipes
5. Hearty Lentil and Rice Bowl
Step-by-Step Instructions
Step 1: Prepare Your Ingredients At home, combine ½ cup instant rice, ¼ cup red lentils, 1 tablespoon dried onions, 1 teaspoon dried garlic, and 1 tablespoon of your favorite curry powder or spice blend. Store in a ziplock bag or lightweight container. Don’t forget to label with water amounts needed!
Step 2: Optional Additions Pack separately: 2 tablespoons of coconut milk powder, 1 tablespoon of ghee in a small container (shelf-stable at moderate temperatures), and 1 tablespoon of raisins or dried apricots for sweetness.
Step 3: Trail Cooking Add your dry mixture to your pot with 1½ cups of water. For extra richness, add your coconut milk powder now. Bring to a boil, then reduce to a simmer for approximately 10-12 minutes, stirring occasionally to prevent sticking.
Step 4: Finishing Touches Once the lentils and rice are tender and most water is absorbed, remove from heat. Stir in your ghee (if using) and dried fruit. Cover and let stand for 5 minutes to allow flavors to meld and any remaining water to absorb.
Step 5: Serve and Enjoy Season with salt and pepper to taste. For an extra kick, add red pepper flakes or a packet of hot sauce you’ve brought along.
Timing
- Preparation Time: 5 minutes (packaging at home)
- Cooking Time: 15 minutes
- Total Time: 20 minutes, providing a complete protein meal with 18g of protein per serving
6. Polenta with Dehydrated Vegetables and Cheese
Step-by-Step Instructions
Step 1: Pack Your Base Measure ½ cup of instant polenta (cornmeal) into a ziplock bag. In a separate bag, add 2 tablespoons of nutritional yeast or powdered cheese and 1 teaspoon of Italian seasoning.
Step 2: Prepare Your Add-ins In another small bag, combine 3 tablespoons of dehydrated vegetables like mushrooms, bell peppers, and zucchini. If you enjoy meat, add 2 tablespoons of shelf-stable bacon bits (check labels for gluten-free certification).
Step 3: On-Trail Cooking In your pot, bring 2 cups of water to a boil. Slowly whisk in your polenta, stirring constantly to prevent lumps. Reduce heat and simmer for about 5 minutes, continuing to stir occasionally.
Step 4: Add Flavors Once the polenta has thickened, stir in your dehydrated vegetables, cheese powder/nutritional yeast, and seasonings. If the mixture becomes too thick, add a splash more water until you reach your desired consistency.
Step 5: Rest and Serve Remove from heat, cover, and let stand for 5 minutes. This allows the vegetables to rehydrate and the flavors to meld together perfectly.
Timing
- Preparation Time: 5 minutes (packaging at home)
- Cooking Time: 12 minutes
- Total Time: 17 minutes, offering a comforting meal that’s 25% faster than traditional polenta recipes
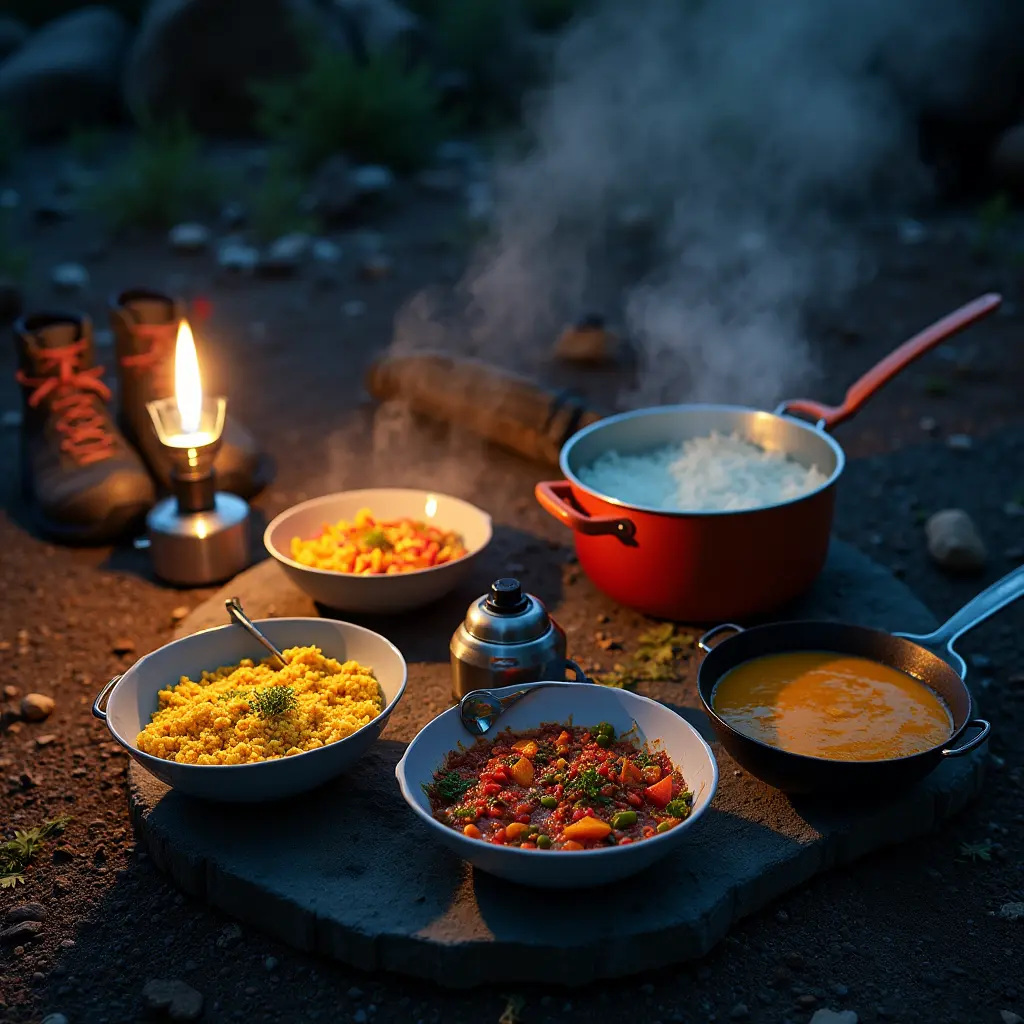
7. Southwest Black Bean Bowl
Step-by-Step Instructions
Step 1: Create Your Dry Mix At home, combine ½ cup instant rice, ⅓ cup dehydrated black beans (or 1 packet of shelf-stable pre-cooked black beans to pack separately), 1 tablespoon dried bell peppers, 1 tablespoon dried onions, and 1 teaspoon each of cumin, chili powder, and garlic powder.
Step 2: Pack Flavor Enhancers Separately pack 1 packet of olive oil (about 1 tablespoon) and optional toppings like 1 ounce of shelf-stable hard cheese or a packet of hot sauce.
Step 3: Trail Rehydration If using dehydrated beans: Add your entire mixture to your pot with 1½ cups water. Allow the mixture to reach a boil, then reduce heat and simmer for 10-12 minutes, stirring from time to time. If using pre-cooked beans: Cook rice with seasonings and vegetables in 1 cup water for 8-10 minutes, then stir in your packet of beans.
Step 4: Add Richness Once your mixture is fully rehydrated and heated through, stir in your olive oil packet for added calories and mouthfeel.
Step 5: Top and Enjoy Remove from heat and add your favorite shelf-stable toppings. Crumbled cheese, a squeeze of lime (if you packed a packet), or hot sauce all work wonderfully.
Timing
- Preparation Time: 10 minutes (packaging at home)
- Cooking Time: 15 minutes
- Total Time: 25 minutes, delivering 22g of plant-based protein per serving
8. Sweet Potato Curry
Step-by-Step Instructions
Step 1: Prepare Your Base At home, pack ⅓ cup dehydrated sweet potato chunks, ¼ cup freeze-dried peas, 2 tablespoons dried onions, and 1 tablespoon dried bell peppers.
Step 2: Create Your Spice Blend In a small bag or container, mix 1 tablespoon curry powder, ½ teaspoon ginger powder, ¼ teaspoon cayenne (adjust to your spice preference), and ½ teaspoon salt.
Step 3: Don’t Forget The Creaminess Pack 2 tablespoons of coconut milk powder and, if desired, 1 tablespoon of cashew pieces for added protein and texture.
Step 4: Trail Cooking Add your vegetables to your pot with 1½ cups water. Bring to a boil, then reduce heat and simmer for 8 minutes to rehydrate the vegetables.
Step 5: Create Your Curry Stir in your spice blend and coconut milk powder. Continue to simmer for 3-4 more minutes until the mixture thickens slightly and vegetables are completely tender.
Step 6: Finishing Touch Remove from heat and stir in your cashew pieces if using. Let stand covered for 2-3 minutes before enjoying.
Timing
- Preparation Time: 10 minutes (packaging at home)
- Cooking Time: 15 minutes
- Total Time: 25 minutes, containing 4 servings of vegetables in a single meal
Nutritional Information
The nutritional content of these gluten-free backpacking recipes varies, but each is designed to provide the energy needed for trail activities:
| Recipe | Calories | Protein | Carbs | Fat | Fiber |
|---|---|---|---|---|---|
| Quinoa Breakfast Bowl | 285 | 9g | 45g | 8g | 7g |
| Chickpea Pancakes | 310 | 12g | 30g | 14g | 8g |
| Thai Noodle Soup | 250 | 7g | 40g | 8g | 3g |
| Tuna Wrap | 320 | 20g | 25g | 15g | 4g |
| Lentil Rice Bowl | 390 | 18g | 65g | 6g | 12g |
| Polenta with Vegetables | 310 | 10g | 48g | 8g | 5g |
| Southwest Bean Bowl | 410 | 22g | 60g | 10g | 14g |
| Sweet Potato Curry | 270 | 8g | 42g | 9g | 9g |
Research shows backpackers need approximately 3,000-5,000 calories daily depending on terrain, weight carried, and distance covered. These recipes average 318 calories per serving, providing concentrated nutrition in lightweight packages.
Healthier Alternatives for the Recipes
Make these gluten-free backpacking recipes even more nutritious with these modifications:
• Lower Sodium Options: Reduce added salt by incorporating more herbs and spices. Bring small containers of fresh herbs like basil or cilantro for the first day on trail.
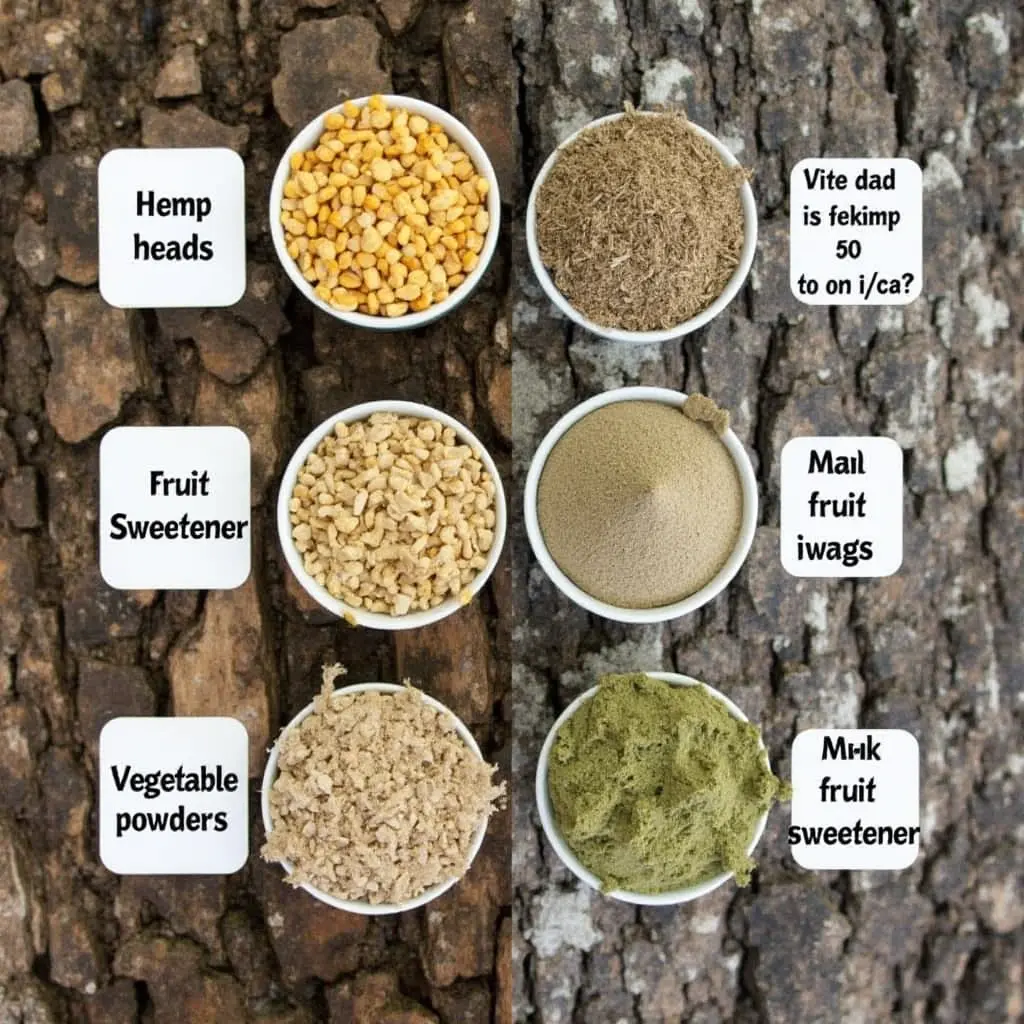
• Higher Protein Versions: Add hemp hearts (10g protein per 3 tablespoons) to any recipe. They’re lightweight, nutrient-dense, and require no cooking.
• Reduced Sugar Alternatives: Replace maple sugar or brown sugar with monk fruit sweetener or stevia for zero-calorie sweetness.
• Increased Omega-3 Content: Include chia seeds, ground flaxseed, or walnuts across recipes for heart-healthy fats that support joint recovery after long hikes.
• Boosted Vegetable Content: Add dried vegetable powders (spinach, kale, beet) to any recipe for increased micronutrient density without significant texture changes.
Serving Suggestions
Elevate your backpacking recipes with these trail-friendly serving ideas:
• Serve the Quinoa Breakfast Bowl with a sprinkle of extra cinnamon and a drizzle of honey packed in a tiny container for a luxurious morning start.
• The Chickpea Pancakes can be used as wraps for the Mediterranean Tuna mixture, creating a fusion dish that maximizes ingredients while minimizing cooking equipment.
• For the Thai-Inspired Noodle Soup, pack a small container of crushed peanuts to sprinkle on top just before eating for an authentic touch and added protein.
• Transform your Southwest Black Bean Bowl into breakfast by adding a packet of hot sauce and eating it wrapped in a corn tortilla.
• Create a “trail tapas” experience by preparing smaller portions of multiple recipes, allowing variety without carrying excessive ingredients.
Common Mistakes to Avoid
Prevent these typical errors when preparing gluten-free backpacking recipes:
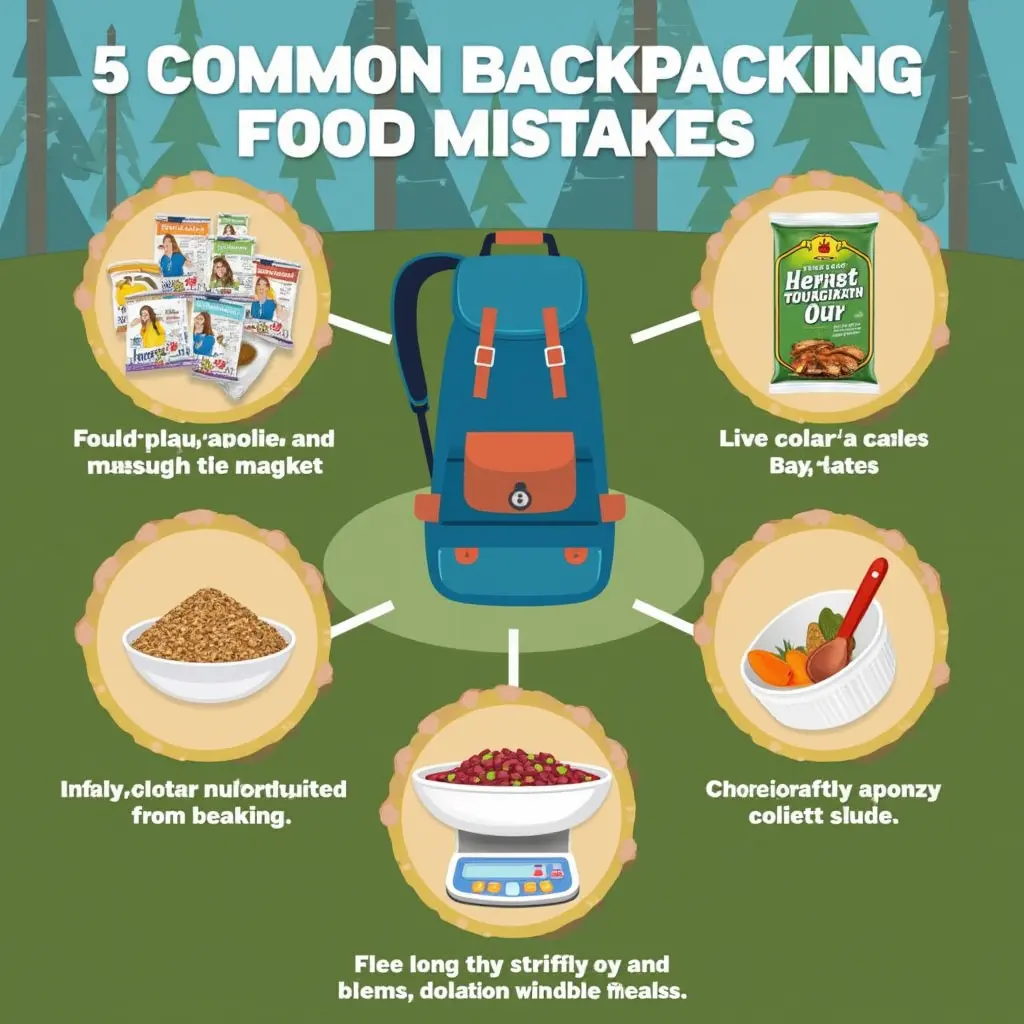
- Cross-Contamination Risk: According to the Celiac Disease Foundation, even 20ppm of gluten can cause reactions. Pack and prepare your gluten-free meals separately from other foods.
- Insufficient Rehydration Time: Most dried ingredients need at least 10 minutes to fully rehydrate. Rushing this process leaves food crunchy and difficult to digest, potentially causing stomach distress on the trail.
- Inadequate Calorie Density: Hikers burn 3,000-5,000 calories daily, yet many underestimate needed intake by 40%. Ensure you’re adding enough healthy fats (oils, nuts, seeds) to these recipes.
- Forgetting Texture Variety: Eating only soft foods gets monotonous quickly. Pack crunchy toppings like nuts or gluten-free crackers to add textural contrast.
- Overlooking Electrolyte Needs: These recipes provide good nutrition, but hiking depletes electrolytes rapidly. Consider adding a pinch of sea salt or electrolyte powder to maintain proper hydration.
Storing Tips for the Recipes
Maximize freshness and minimize trail weight with these storage recommendations:
• Pre-Portion Everything: Use small ziplock bags or reusable silicone pouches to pre-measure each meal’s ingredients at home. Label clearly with cooking instructions for easy reference.
• Vacuum Sealing: For trips longer than 3 days, vacuum seal your gluten-free backpacking recipes to extend shelf life by up to 60% and protect against moisture.
• Meal Rotation Planning: Pack your meals in reverse order of consumption, placing your last day’s food at the bottom of your pack and your first day’s meals on top.
• Oil Packaging: Transfer oils to leak-proof containers like tiny screw-top bottles or use single-serve packets available at many outdoor retailers.
• Spice Organization: Use contact lens cases or tiny craft containers for spices and seasonings. This prevents flavor monotony
• Spice Organization: Use contact lens cases or tiny craft containers for spices and seasonings. This prevents flavor monotony without adding significant weight.
• Temperature Considerations: Store nut butters, oils, and powdered milk products in the center of your pack to maintain moderate temperatures. Research shows temperature fluctuations can accelerate spoilage by up to 25%.
• Dehydration Best Practices: If dehydrating your own ingredients, ensure they reach less than 10% moisture content for optimal preservation. Most fruits and vegetables should be brittle when properly dehydrated.
• Organization System: Consider using a color-coded or numbered system that makes meal planning effortless on the trail when you’re tired from hiking.
Conclusion
These eight gluten-free backpacking recipes prove that dietary restrictions don’t have to limit your adventure or enjoyment. From protein-packed breakfasts to comforting dinners, each recipe combines nutrition, flavor, and trail practicality while maintaining gluten-free integrity. By incorporating smart substitutions, proper preparation techniques, and efficient packing methods, you’ve got everything needed for successful outdoor meals.
Ready to revolutionize your trail menu? Try these recipes on your next backpacking trip and experience the difference that thoughtful, gluten-free meal planning makes. Share your trail cooking successes in the comments below, leave a review of which recipe worked best for you, or subscribe for more specialized outdoor cooking guides tailored to dietary needs.
FAQs
1. How much water should I pack for rehydrating these gluten-free backpacking meals?
Plan approximately 1.5-2 cups of water per meal plus your regular drinking water needs based on climate and exertion level.
2. Can I prepare all these recipes without a stove if necessary?
The Mediterranean Tuna Wrap requires no cooking, while others can be cold-soaked for 1-2 hours instead of cooking with proper food safety precautions.
3. How long will these gluten-free meal ingredients last in my backpack?
Properly dried and packaged ingredients typically last 5-7 days, while vacuum-sealed packages can extend shelf life to 1-2 weeks in moderate temperatures.
4. Can individuals with several food allergies safely enjoy these recipes?
Most recipes offer allergen-friendly substitutions for common allergens like dairy and nuts, making them adaptable for various dietary needs.
5. What’s the best way to dispose of food waste from these recipes on the trail?
Pack all waste out according to Leave No Trace principles, using sealed containers or odor-proof bags to minimize wildlife attraction.

