Who doesn’t love juicy, fall-off-the-bone ribs? Beef back ribs are a cut above the rest when it comes to flavor and tenderness! In this article, we’ll walk you through our go-to beef back ribs recipe , breaking down the process into 5 simple steps so even beginners can master the art of slow-cooking. Whether you’re hosting a backyard BBQ or cooking for family dinner, these ribs will be the star of the show!
Table of Contents
Step 1 – Choose High-Quality Beef Back Ribs
Why Beef Back Ribs Are Perfect for Slow Cooking
What makes beef back ribs so amazing? It’s all about the marbling! Those tiny streaks of fat might not look like much, but they’re the secret to tender, juicy ribs after a long cook. When you slow-cook these ribs, the fat melts away, leaving behind pure flavor magic. Plus, beef back ribs are naturally packed with rich, beefy goodness. They don’t need much fussing because their inherent richness shines through when cooked right.
Here’s a quick lesson I learned the hard way: patience pays off. I once tried rushing the process in the oven, thinking I could cut corners. Big mistake! The ribs turned out tough and chewy—not exactly what you want when aiming for fall-off-the-bone perfection.
Tips for Selecting the Best Cuts
When picking your ribs, quality matters a lot . Here’s how to get it right:
- Head to a butcher shop : Your local butcher can guide you toward cuts with great marbling and freshness. Grocery store options may work in a pinch, but nothing beats personalized advice from a pro.
- Look for good marbling : You want a nice balance of lean meat and fat. Too lean, and the ribs will dry out; too fatty, and well…you’ll end up with more grease than flavor.
- Consider portion sizes : A typical slab has around 8–12 ribs, which should serve about 3–4 people. If you’re feeding a crowd, plan accordingly. Trust me—I once underestimated portions, and some guests were left slightly disappointed. (Oops!)
Pro tip: Ask your butcher to trim off the membrane on the underside of the ribs. It’s optional, but doing so helps seasonings penetrate deeper and ensures even cooking. Taking care during selection saves you headaches later—and those perfectly cooked ribs will thank you for it!
Step 2 – Prepare Your Seasoning Blend
Classic Dry Rub Ingredients
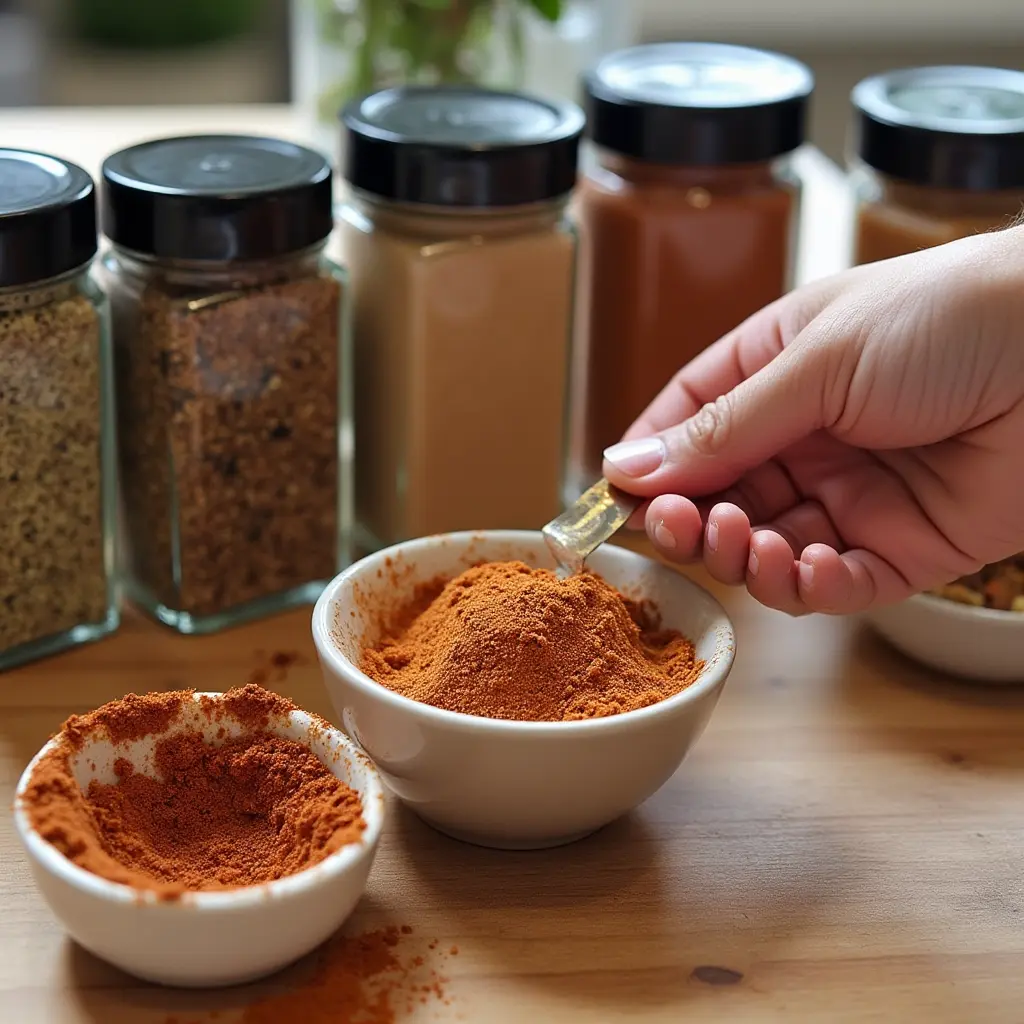
Alright, let’s talk seasoning! This is where the real magic happens. A good dry rub can transform ordinary beef back ribs into something extraordinary. Over the years, I’ve experimented with countless spice blends, and here’s what works best for me:

- Paprika : Adds a smoky sweetness that pairs beautifully with beef.
- Garlic Powder & Onion Powder : These two are my go-to for depth of flavor. They’re like the unsung heroes of any rub.
- Salt & Pepper : The foundation of every great dish. Don’t skimp on these!
- Brown Sugar : Just a touch to balance out the savory spices. It caramelizes during cooking, giving your ribs a gorgeous glaze.
Now, here’s where things get fun—you can tweak this blend to suit your taste. Want it spicier? Sprinkle in a bit of cayenne pepper or chili powder. Like it sweeter? Add more brown sugar or even a pinch of cinnamon for warmth.
Wet Marinade Options
If you’re feeling adventurous, consider adding a wet marinade to the mix. One of my favorite combos is a beer brine. Submerge the ribs in a mixture of dark beer, soy sauce, Worcestershire sauce, and garlic cloves overnight. Believe me, the outcome is well worth the extra work.
But hey, don’t feel pressured to overcomplicate things. Other times, keeping it straightforward is the best approach. For instance, last summer, I skipped the marinade altogether and stuck with just the dry rub. Guess what? Those ribs still turned out fantastic because the quality of the meat did most of the talking.
My Biggest Mistake
Here’s a little secret: I once forgot to add salt to my dry rub. Rookie move, right? The ribs lacked that essential umami kick, and no amount of sauce could save them. So, always double-check your ingredients before applying the rub—it’ll save you a lot of heartache later!
By taking the time to craft the perfect seasoning blend, you’re setting yourself up for success. And remember, there’s no one “right” way to do it—experiment until you find what tickles your taste buds!
Step 3 – Preheat and Set Up Your Cooking Method
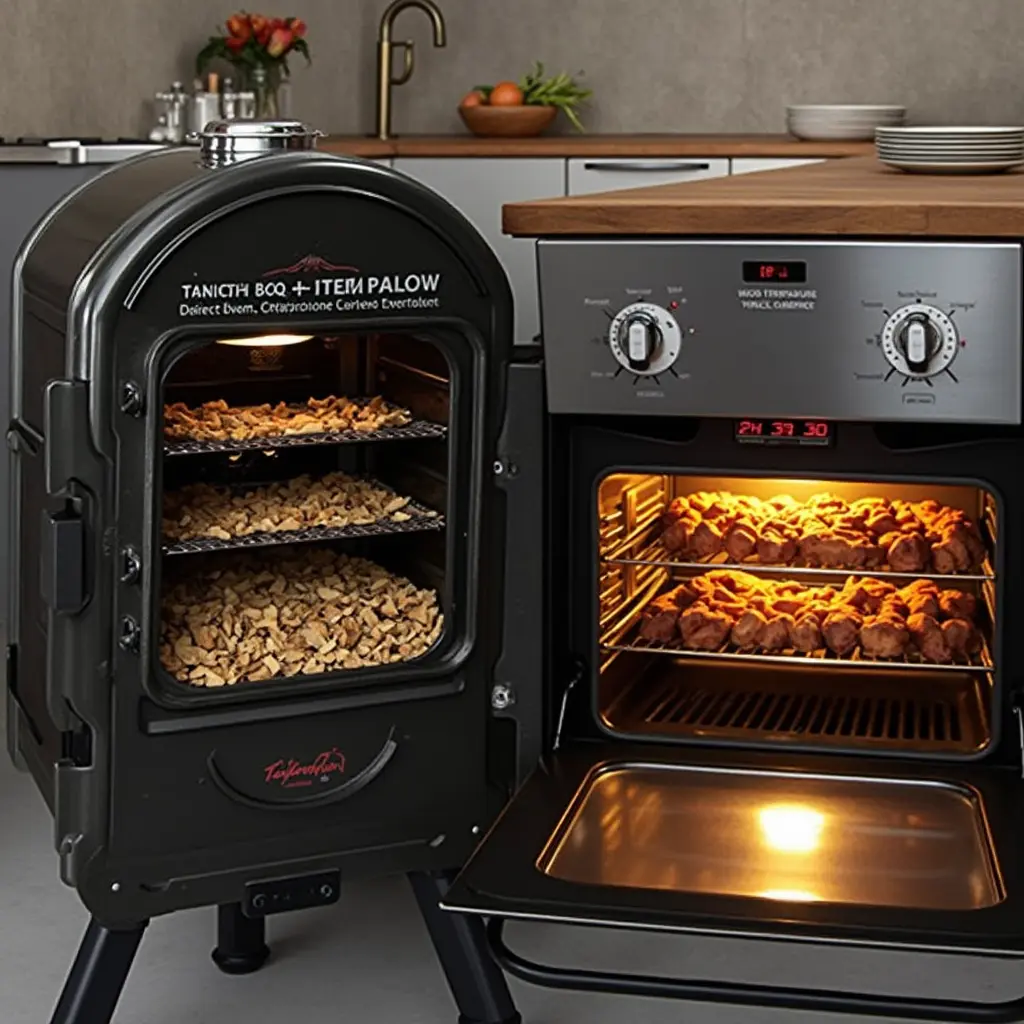
Alright, folks, we’re moving into the heart of the operation—choosing how you’re going to cook those ribs. This step is crucial because beef back ribs need low and slow cooking to reach tender perfection. Let’s break it down so you can decide whether an oven , a smoker , or even a grill is your best bet.

Oven vs. Smoker – Which Is Better?
First off, let me tell you about my first attempt at smoking ribs. I was all gung-ho, ready to channel my inner pitmaster. But honestly? It turned out to be way more effort than I anticipated. Don’t get me wrong—if you’ve got the time and patience, smoking gives that authentic BBQ flavor that’s hard to beat. Just be prepared for trial and error. On the flip side, using an oven is way simpler and delivers consistently juicy results without needing constant attention.
Here’s the deal:
- Smoker : Best if you want that deep, smoky flavor. You’ll need wood chips (hickory or applewood are great choices) and some practice controlling temperature.
- Oven : Ideal for beginners or when convenience matters. Set it and forget it—almost.
Temperature Settings for Success
No matter which method you choose, getting the temp right is key. For both ovens and smokers, aim for around 225°F to 250°F . Why so low? Because slow cooking breaks down the collagen in the ribs, turning it into gelatin, which makes them fall-off-the-bone tender.
Now, here’s where I messed up once: I cranked the heat too high thinking it would speed things along. Big mistake! The outside burned before the inside had a chance to soften. Lesson learned—patience is your friend here.
Pro Tip: Use Foil Wisely
If you’re worried about drying out your ribs, wrap them in foil partway through cooking. This creates a steamy environment that keeps everything moist. Remove the foil during the last hour to crisp up the exterior. Some call this the “Texas Crutch,” and trust me, it works wonders!
So there you have it—your options laid out nice and clear. Whether you go with the smoker for authenticity or the oven for ease, either way, you’ll end up with delicious ribs as long as you stick to the basics. And hey, don’t stress too much—it’s supposed to be fun!
Step 4 – Cook Until Tender Perfection
Alright, we’ve made it to the most exciting part: cooking those ribs until they’re tender and juicy. This step requires patience, but trust me—it’s worth every minute. Let’s dive into how to achieve that melt-in-your-mouth texture.

The Importance of Low and Slow Cooking
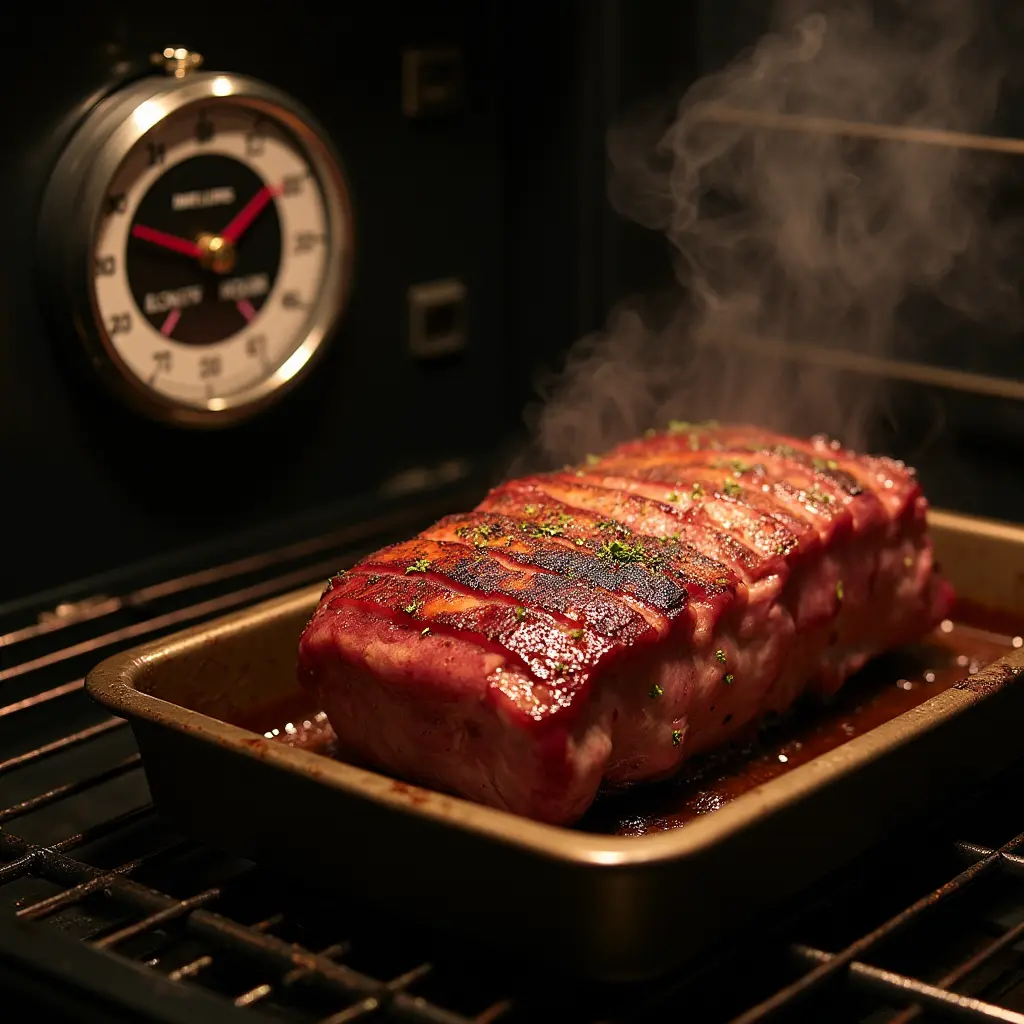
Here’s the golden rule: beef back ribs need time. A lot of it. Cooking them at high heat might seem like a quick fix, but all you’ll end up with is tough, chewy meat. Low and slow cooking breaks down the connective tissues, turning them into rich, flavorful gelatin.
Now, I know what you’re thinking—“How long exactly?” It varies based on your cooking method, but here’s a general guideline:
- Oven : Around 3–4 hours at 225°F–250°F.
- Smoker : Same temperature range, but factor in additional time for smoking magic.
- Grill (indirect heat) : Similar to the smoker, plan for 3+ hours.
One time, I got impatient and pulled my ribs out after just two hours. Rookie move! They were edible, sure, but nowhere near the level of tenderness I strive for. Learn from my mistake—let the ribs do their thing.
Adding Sauce at the Right Time
Sauce is the cherry on top, but applying it too early can ruin the party. If you slather it on right away, the sugars in the sauce will burn before the ribs are fully cooked. Instead, delay until the final 30–45 minutes of the cooking process. Brush it on generously, then let it caramelize under low heat. This creates a sticky, glossy finish that’s pure bliss.
How Do You Know They’re Done?
This is where instinct comes in handy. When the ribs are ready, they should bend easily when lifted with tongs. The meat should pull away slightly from the bone, but not fall off completely—that’s reserved for pork ribs! If you’re unsure, use a thermometer; internal temps around 190°F–205°F indicate doneness.
So, grab a beer, put on some music, and let the ribs work their magic. Resist the urge to rush things—you’ll thank yourself later when those tender, flavorful ribs hit the table.
Step 5 – Serve and Enjoy Your Masterpiece
Alright, the moment of truth has arrived! Your beef back ribs are perfectly cooked, tender, juicy, and bursting with flavor. Now it’s time to plate them up and serve like a pro. But before you dive in, let’s talk about how to make your dish look as good as it tastes.

Presentation Ideas for Restaurant-Quality Results
Presentation matters—it’s the first thing your guests will notice. Here’s what I do:
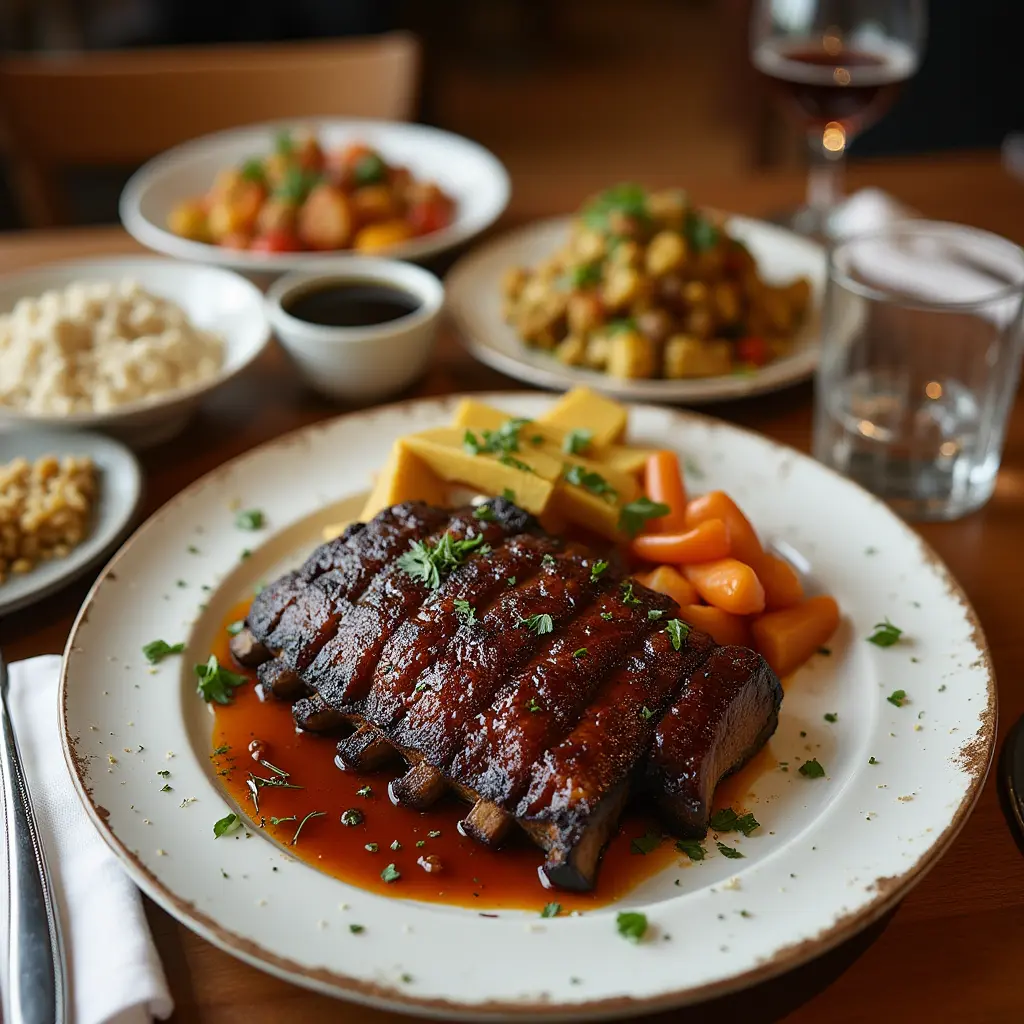
- Arrange Neatly : Place the ribs on a large platter or individual plates, stacking them slightly for an inviting presentation.
- Garnish Generously : Fresh herbs like thyme or parsley add a pop of color and freshness. A sprinkle of sesame seeds or chopped green onions can also elevate the visual appeal.
- Sauce Drizzle : Don’t just plop sauce on the side—drizzle it artfully over the ribs for that restaurant-quality finish.
One time, I forgot to garnish my ribs, thinking they’d speak for themselves. Big mistake! While the taste was fantastic, the presentation felt flat. Moral of the story? Take those extra few minutes to dress things up.
Side Dishes That Complement Beef Back Ribs
Ribs are undeniably the star of the show, but sides can take your meal from good to unforgettable. Here are some classic pairings:
- Coleslaw : Creamy and refreshing, perfect for cutting through the richness of the ribs.
- Baked Beans : Sweet and savory, these go hand-in-hand with BBQ flavors.
- Cornbread : Warm, buttery cornbread is a must-have for soaking up leftover sauce.
- Mac ‘n Cheese : Rich and comforting, this pasta dish never disappoints.
If you’re hosting a crowd, consider setting up a DIY rib station where guests can customize their own plates. Provide bowls of extra sauce, chopped fresh onions, and pickles for added crunch. Trust me, everyone loves feeling like they have control over their meal!
Final Touches
Prior to serving, allow the ribs to rest for approximately 10–15 minutes. This gives the juices time to redistribute, ensuring every bite is just as juicy and flavorful as the first. And don’t forget the napkins—because no matter how elegant your setup, beef back ribs are messy in the best way possible.
So there you have it—a feast fit for kings (or at least your hungry friends). Kick back, unwind, and savor the results of your hard work. After all, cooking isn’t just about feeding people—it’s about creating memories. Cheers to that!
Conclusion
There you have it—a foolproof beef back ribs recipe that guarantees tender, delicious ribs every single time! By following these five easy steps, you’ll impress friends and family alike. So fire up your oven or smoker, grab some aprons, and let’s get cooking. Remember, practice makes perfect—so don’t hesitate to experiment with new seasonings and techniques to make this dish uniquely yours!
FAQs
1. How much time is needed to cook beef back ribs?
It typically takes about 3-4 hours in the oven or smoker at low temperatures (around 225°F) to achieve tender results.
2. What is the best wWhat’s the ideal way to store leftover beef back ribs?
Keep any remaining ribs in an airtight container in the fridge for up to 3-4 days. When ready to eat, reheat them gently in the oven or microwave before serving.
3. Can I use a grill instead of an oven or smoker?
Yes, you can grill beef back ribs, but make sure to use indirect heat to avoid burning them. Cover the grill to mimic the effects of smoking.
4. Do I need to trim the membrane off the ribs?
While not mandatory, removing the silvery membrane helps improve texture and allows flavors to penetrate better. Use a knife or paper towel to peel it off.
5. What type of wood should I use if smoking beef back ribs?
Hickory, oak, or applewood are excellent choices for smoking as they add a rich, smoky flavor without overpowering the meat.

