There’s something magical about turning fresh fruit into homemade jelly that’s bursting with flavor! Whether you’re a seasoned canner or a beginner, Sure Jell recipes are your secret weapon for creating perfect jelly every time. Did you know that over 70% of home canners rely on Sure Jell for its consistent results? In this guide, we’ll walk you through easy recipes, creative variations, and expert tips to make your jelly-making journey a sweet success. Let’s get started!
Table of Contents
What is Sure Jell and Why Use It?
Let me take you back to the first time I tried making jelly without Sure Jell. Spoiler alert: it was a disaster. The jelly never set, and I ended up with a sad, syrupy mess. That’s when I discovered Sure Jell, and let me tell you, it was a game-changer. Sure Jell has been around since the 1930s, and it’s basically the OG of pectin products. It was created to help home cooks like you and me achieve that perfect gel consistency without all the guesswork.
So, why use Sure Jell? Well, for starters, it’s incredibly reliable. Whether you’re making strawberry jam or peach jelly, Sure Jell ensures your fruit spreads set properly every single time. It’s like having a safety net in your pantry. Plus, it’s super versatile—you can use it for low-sugar recipes, freezer jams, or even classic cooked jellies.
One of the biggest perks of Sure Jell is how it takes the stress out of canning. You don’t have to worry about whether your fruit has enough natural pectin or if you’ve cooked it long enough. Sure Jell does the heavy lifting, so you can focus on enjoying the process (and the delicious results). Trust me, once you try it, you’ll wonder how you ever made jelly without it.
And here’s a pro tip: Sure Jell comes with detailed instructions and recipes right on the box, which is perfect for beginners. Even if you’ve never canned before, you’ll feel like a pro in no time. So, if you’re ready to make jelly that actually sets (and impresses your friends), grab a box of Sure Jell and let’s get cooking!
Basic Sure Jell Recipe for Beginners
Alright, let’s dive into your first Sure Jell adventure with a classic strawberry jelly recipe. I remember my first attempt—I was nervous, but the step-by-step instructions on the Sure Jell box saved me. Here’s how you can make your own batch of delicious, perfectly set strawberry jelly.
Ingredients:
- 4 cups of crushed strawberries (about 2 quarts of fresh strawberries)
- 7 cups of granulated sugar (yes, it’s a lot, but trust the process!)
- 1 box of Sure Jell fruit pectin
- 1/2 teaspoon of butter (optional, to reduce foaming)
Tools You’ll Need:
- A large pot (8-10 quarts)
- A canning funnel (makes filling jars so much easier)
- Jar lifter (to handle hot jars safely)
- Clean mason jars with lids and bands
- A potato masher or blender for crushing strawberries
- A ladle and a clean kitchen towel
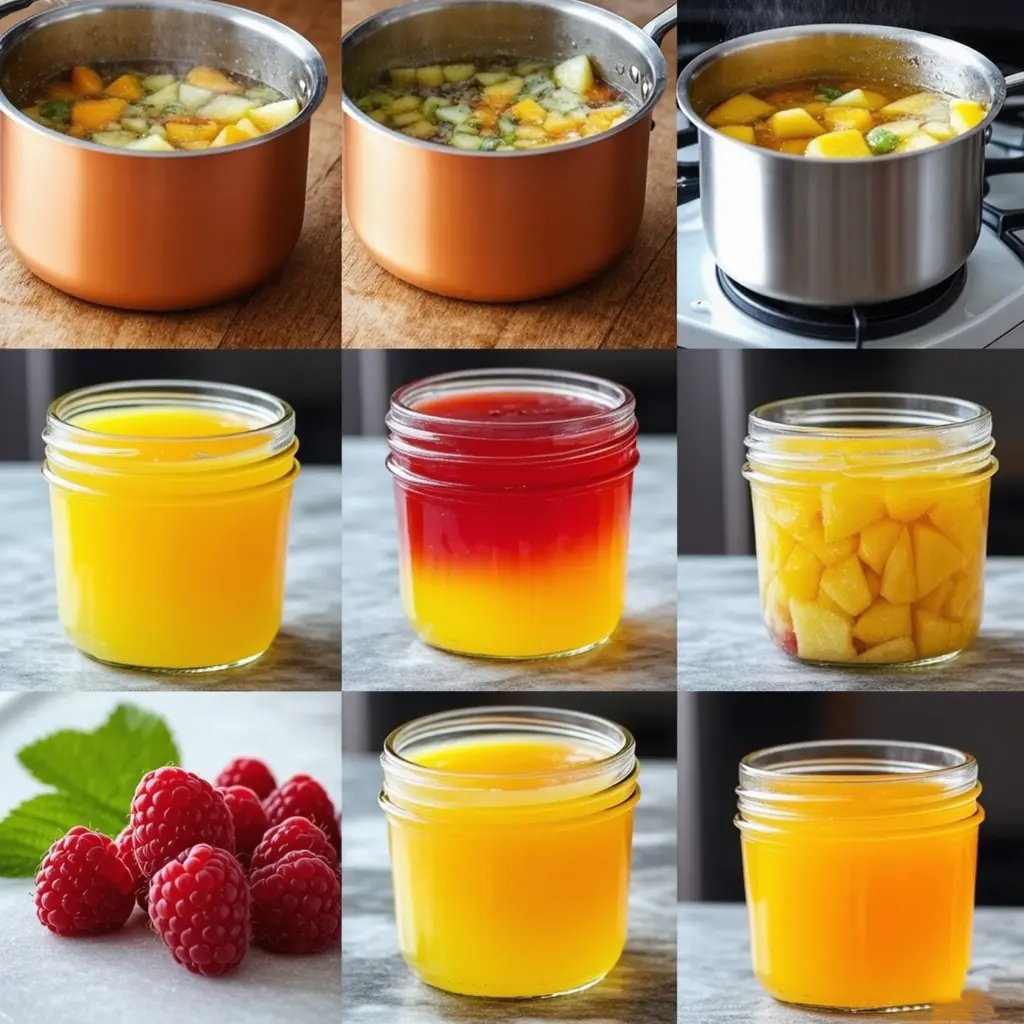
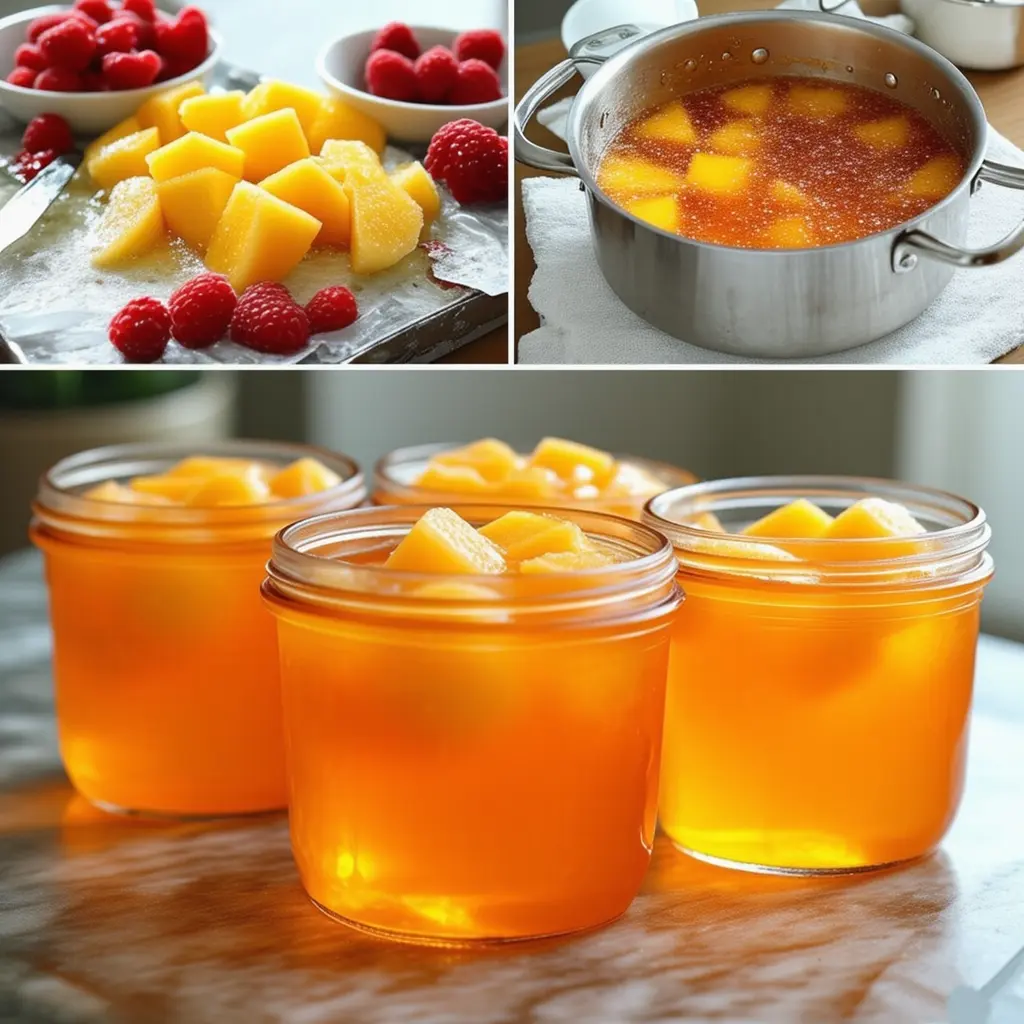
Step-by-Step Instructions:
- Prep the Strawberries: Wash and hull your strawberries, then crush them using a potato masher or blender. You want 4 cups of crushed fruit—don’t puree it, though; a little texture is good!
- Mix the Pectin: In your large pot, combine the crushed strawberries and Sure Jell. Add the butter if you’re using it. Stir well and bring the mixture to a full rolling boil (that’s when it doesn’t stop bubbling, even when you stir).
- Add the Sugar: Once it’s boiling, pour in all the sugar at once. Stir constantly until the mixture comes back to a rolling boil, then let it boil for exactly 1 minute.
- Skim the Foam: Remove the pot from heat and skim off any foam with a spoon. This step is optional, but it makes your jelly look prettier.
- Fill the Jars: Using your canning funnel, ladle the hot jelly into sterilized jars, leaving about 1/4 inch of headspace at the top. Wipe the rims with a clean, damp cloth to remove any spills.
- Seal the Jars: Place the lids on the jars and screw on the bands until they’re fingertip-tight (don’t over-tighten!).
- Process the Jars: Submerge the jars in a boiling water bath for 10 minutes to seal them properly. Use your jar lifter to remove them and let them cool on a towel. You’ll hear the satisfying pop of the lids sealing as they cool.
Tips for Sterilizing and Sealing Jars:
- Always start with clean jars. You can sterilize them by boiling them in water for 10 minutes or running them through a dishwasher cycle.
- Make sure your lids are new or in perfect condition—no dents or scratches.
- Don’t skip the water bath step! It’s crucial for sealing the jars and preventing spoilage.
- After processing, check the seals by pressing down on the center of each lid. If it doesn’t pop back, you’re good to go. If it does, refrigerate that jar and use it first.
There you have it—a foolproof recipe for classic strawberry jelly that even beginners can nail. Sure Jell makes it so easy, and the results are always worth it. Now, go grab some strawberries and get cooking! Your toast (and your family) will thank you.
Creative Sure Jell Recipe Variations
Once you’ve mastered the basics, it’s time to get creative with your Sure Jell recipes. Trust me, experimenting with flavors is half the fun! Here are three of my favorite variations that always impress—whether I’m gifting them or just enjoying them at home.
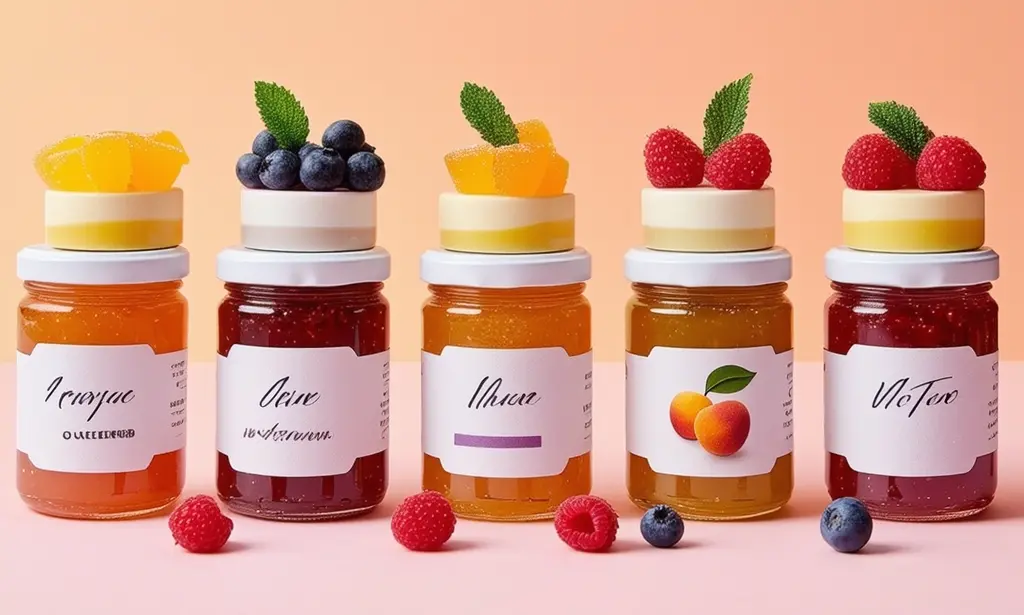
1. Peach and Vanilla Bean Jelly
This one’s a showstopper. The sweetness of peaches paired with the rich, aromatic flavor of vanilla is pure magic.
Ingredients:
- 4 cups of finely chopped peaches (about 6-7 medium peaches)
- 7 cups of granulated sugar
- 1 box of Sure Jell
- 1 vanilla bean (or 1 tablespoon of pure vanilla extract)
- 1/2 teaspoon of butter (optional)
How to Make It:
- Peel and chop the peaches (pro tip: blanch them in boiling water for 30 seconds to make peeling easier).
- Split the vanilla bean and scrape out the seeds. Add both the seeds and the pod to the pot with the peaches and Sure Jell.
- Follow the same steps as the classic jelly recipe: bring to a boil, add sugar, boil for 1 minute, then skim and jar.
- Remove the vanilla pod before filling the jars.
The result? A jelly that tastes like summer in a jar. It’s perfect on biscuits or even as a glaze for grilled chicken.
2. Spiced Apple Jelly with Cinnamon
This one’s a fall favorite in my house. The warmth of cinnamon takes apple jelly to a whole new level.
Ingredients:
- 4 cups of apple juice (freshly pressed or store-bought, but make sure it’s 100% juice)
- 7 cups of granulated sugar
- 1 box of Sure Jell
- 2 cinnamon sticks (or 1 teaspoon of ground cinnamon)
- 1/2 teaspoon of butter (optional)
How to Make It:
- Add the apple juice, Sure Jell, and cinnamon sticks to the pot. If you’re using ground cinnamon, wait to add it until after you’ve skimmed the foam.
- Bring to a boil, add the sugar, and boil for 1 minute.
- Skim the foam, remove the cinnamon sticks, and jar it up.
This jelly is amazing on toast, but I also love using it as a glaze for pork chops. It’s like autumn in a jar!
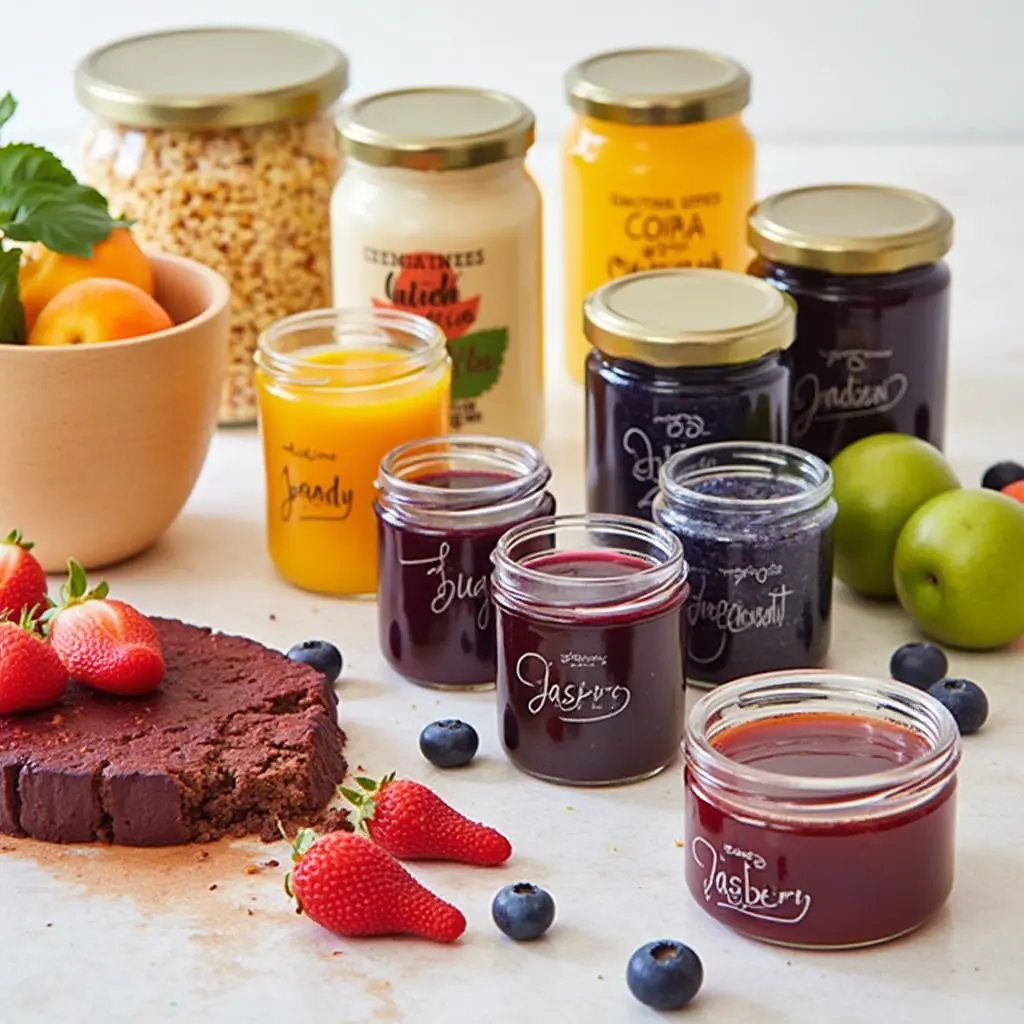
3. Mixed Berry Jam with a Twist of Lemon Zest
If you’re a berry lover, this one’s for you. The lemon zest adds a bright, tangy kick that balances the sweetness perfectly.
Ingredients:
- 2 cups of crushed strawberries
- 2 cups of crushed raspberries
- 1 cup of crushed blueberries
- 7 cups of granulated sugar
- 1 box of Sure Jell
- Zest of 1 lemon
- 1/2 teaspoon of butter (optional)
How to Make It:
- Combine all the crushed berries, Sure Jell, and lemon zest in the pot.
- Bring to a boil, add the sugar, and boil for 1 minute.
- Skim the foam, then ladle into jars.
This jam is a burst of flavor in every bite. I love it on pancakes or swirled into yogurt. Plus, the vibrant color makes it a great gift.
These creative Sure Jell recipes are just the beginning. Once you start experimenting, you’ll find endless ways to customize your jellies and jams. So, grab your Sure Jell box, pick your favorite fruits, and let your imagination run wild!
Tips for Perfect Jelly Every Time
Let’s be real—making jelly can feel like a science experiment sometimes. But with a few tips and tricks, you can nail it every time. Here’s what I’ve learned (often the hard way) about testing for the gel point, avoiding common mistakes, and storing your jelly like a pro.
How to Test for the Gel Point
Testing for the gel point used to stress me out, but now I’ve got it down to a science. Here are my go-to methods:
- The Spoon Test: Dip a cold metal spoon into the boiling jelly mixture and let it cool for a minute. If the jelly drips off in a sheet or clumps together instead of running off in a stream, you’re good to go.
- The Wrinkle Test: Pour a small amount of jelly onto a chilled plate and pop it in the freezer for a minute. Push the jelly with your finger—if it wrinkles, it’s ready. If not, keep boiling and test again in a few minutes.
Pro tip: Don’t rely solely on the clock. The gel point can vary depending on your fruit, altitude, and even the weather (humidity is a sneaky culprit).
Common Mistakes to Avoid
I’ve made my fair share of jelly fails, so learn from my mistakes:
- Overcooking: Boiling the jelly too long can break down the pectin, leaving you with a runny mess. Stick to the recommended boiling times.
- Undercooking: If you don’t boil it long enough, the pectin won’t activate, and your jelly won’t set. Make sure you reach a full rolling boil before starting the timer.
- Using Overripe Fruit: Overripe fruit has less natural pectin, which can mess with the gel. Use fresh, slightly underripe fruit for the best results.
- Skipping the Skim: Not skimming the foam can make your jelly look cloudy. It’s an extra step, but it’s worth it for that clear, glossy finish.
Storing and Shelf-Life Tips for Homemade Jelly
Once you’ve nailed the perfect batch, you’ll want to store it right. Here’s how:
- Seal It Properly: Always process your jars in a water bath to ensure a good seal. If the lid pops when you press it, it’s not sealed—refrigerate that jar and use it first.
- Store in a Cool, Dark Place: Keep your sealed jars in a pantry or cupboard away from direct sunlight. Heat and light can degrade the quality over time.
- Label and Date Your Jars: Trust me, you’ll forget when you made that blueberry jam. Labeling helps you keep track of what’s what and when it was made.
- Shelf Life: Properly sealed and stored jelly can last up to a year. Once opened, keep it in the fridge and use it within a month.

Bonus tip: If you’re gifting your jelly, add a cute label with storage instructions. It’s a small touch that makes a big difference.
With these tips, you’ll be making perfect jelly like a pro in no time. And remember, even if a batch doesn’t turn out quite right, it’s still delicious—just call it “syrup” and pour it over ice cream! Happy canning!
Fun Ways to Use Your Homemade Jelly
So, you’ve made a batch of gorgeous homemade jelly—now what? Sure, slathering it on toast is a classic move, but let’s get creative! Here are some of my favorite ways to use (and show off) your jelly, plus a few ideas for gifting it like a pro.
1. Spread It on Toast, Pancakes, or Muffins
Let’s start with the obvious: jelly is a breakfast superstar. My personal favorite is spreading peach jelly on warm, buttery toast—it’s like a little slice of heaven. But don’t stop there! Try these:
- Swirl spiced apple jelly into your morning oatmeal.
- Use mixed berry jam as a filling for thumbprint cookies.
- Spread it on pancakes or waffles for a fruity twist on syrup.
Pro tip: If your jelly is a little too firm to spread, microwave it for 5-10 seconds to soften it up.
2. Use It as a Glaze for Meats or Desserts
Jelly isn’t just for breakfast—it’s a secret weapon in the kitchen. Here’s how I use it:
- For Meats: Brush peach jelly on grilled chicken or pork during the last few minutes of cooking. The sugar caramelizes, creating a sticky, sweet glaze that’s irresistible.
- For Desserts: Warm up some strawberry jelly and drizzle it over cheesecake or vanilla ice cream. It’s an instant upgrade!
- For Baking: Mix a spoonful of jelly into muffin or cake batter for a burst of flavor.
Fun fact: I once used spiced apple jelly as a glaze for a holiday ham, and it was a total hit. Who knew jelly could be so versatile?
3. Gift Ideas: DIY Jelly Jars with Personalized Labels
Homemade jelly makes the best gift—it’s thoughtful, delicious, and totally customizable. Here’s how I like to package mine:
- Jar Decor: Tie a ribbon or twine around the lid and add a sprig of fresh herbs or a small ornament for a festive touch.
- Personalized Labels: Create labels with the flavor, date, and a cute name like “Grandma’s Famous Strawberry Jelly” or “Summer in a Jar.” You can even add a little note with serving suggestions.
- Gift Sets: Pair a jar of jelly with a loaf of homemade bread or a box of crackers. It’s a gift that feels extra special.
I’ve given jelly as gifts for birthdays, holidays, and even as thank-you presents. It’s always a hit, and people love knowing it was made with care.
So, whether you’re spreading it on toast, glazing a roast, or gifting it to a friend, your homemade jelly is way more than just a condiment. It’s a little jar of love (and flavor)! What’s your favorite way to use jelly? Let me know—I’m always looking for new ideas!
Conclusion
Making jelly at home doesn’t have to be intimidating—Sure Jell recipes make it easy and foolproof! From classic strawberry to creative flavor combinations, the possibilities are endless. With these tips and recipes, you’ll be able to impress your family and friends with your homemade creations. So, grab your Sure Jell box, pick your favorite fruits, and start preserving the sweetness of the season today!
FAQs
1. What is the difference between Sure Jell and regular pectin?
Sure Jell is a brand of pectin, but not all pectin is created equal. Sure Jell is specifically formulated for home canning and comes in two types: regular (for full-sugar recipes) and low-sugar (for reduced-sugar recipes). Regular pectin might not have the same consistency or reliability, especially for beginners. Sure Jell also includes detailed instructions and recipes, making it super user-friendly.
2. Can I use frozen fruit for Sure Jell recipes?
Absolutely! Frozen fruit works just as well as fresh, as long as it’s thawed and drained properly. I’ve used frozen berries for my mixed berry jam, and it turned out fantastic. Just make sure to measure the fruit after thawing, not while it’s still frozen.
3. How long does homemade jelly last?
If properly sealed and stored in a cool, dark place, homemade jelly can last up to a year. Once opened, keep it in the fridge and use it within a month. Always check for signs of spoilage, like mold or an off smell, before eating.
4. Can I reduce the sugar in Sure Jell recipes?
You can, but you’ll need to use the low-sugar version of Sure Jell. Regular Sure Jell requires a specific amount of sugar to activate the pectin and achieve the right gel. If you reduce the sugar without adjusting the recipe, your jelly might not set properly.
5. What fruits work best with Sure Jell?
High-pectin fruits like apples, citrus, and cranberries work great, but Sure Jell can handle low-pectin fruits like strawberries and peaches too. The key is to follow the recipe and use the right amount of pectin. I’ve had success with everything from classic strawberry to exotic mango jelly!

